Planning Your Ride: Days, Budget & Gear [Cross-Country Series #2]
![Planning Your Ride: Days, Budget & Gear [Cross-Country Series #2]](https://storage.ghost.io/c/5d/01/5d010117-54ee-42c0-b578-a7c401c31b2b/content/images/size/w1200/2026/03/IMG_4355-1.jpeg)
So you've decided to bike across Korea. Now the question is: how do you actually plan this thing?
This post breaks it down into three parts: how many days, how much money, and what to bring.

How Many Days? (일정)
The Short Answer: 5 Days
You can do it in 3–4 days. People do. But you'll be grinding out 150–170 km per day, finishing after dark, too exhausted to enjoy anything. You rode across a country and all you saw was pavement.
5 days is the sweet spot. You'll average about 120–130 km per day — enough to keep a good rhythm without burning out, and enough daylight left to actually enjoy the scenery, stop for a proper meal, and arrive at your accommodation before sunset.
Want to take 6 or 7 days? That's totally fine — it's your trip. More days means shorter riding days, more time to explore side stops, and less accumulated saddle soreness. But 5 days hits that balance between challenging and enjoyable.
Suggested 5-Day Itinerary
| Day | Route | Distance | What to Expect |
|---|---|---|---|
| 1 | Incheon → Yeoju (여주) | ~138 km | Flat and fast. You'll ride through Seoul along the Han River, then into the countryside. Convenience stores and restaurants everywhere. A strong start. |
| 2 | Yeoju → Mungyeong (문경) | ~118 km | The hardest day. Two mountain passes — Sojoryeong (소조령) and Ihwaryeong (이화령). Steep climbs, but the views from the top are worth every pedal stroke. Take your time. |
| 3 | Mungyeong → Gumi (구미) | ~112 km | The reward for yesterday. Mostly downhill as you enter the Nakdong River valley. Your legs will thank you. |
| 4 | Gumi → Changnyeong (창녕) | ~105 km | Flat river paths through rural Korea. Limited resupply — stock up on water and snacks before leaving Gumi. |
| 5 | Changnyeong → Busan (부산) | ~126 km | The final push. Watch out for Bakjin Hill (박진고개) — a steep 1 km climb that's one last test before the coast. Then it's flat riding to the Nakdong River Estuary and the finish line. |
Overnight stops: Yeoju → Mungyeong → Gumi → Changnyeong → Busan
Pro tip: Don't lock yourself into rigid daily distances. Plan your general overnight city, but stay flexible. If you're feeling strong, push a bit further. If your body says stop, listen. You can always adjust the next day.
Budget (예산)
Let's break this into three categories: the bike, the gear, and the trip itself.
1. The Bike (자전거)
You don't need an expensive bike. You need a reliable one.
| Type | Price Range | Why It Works |
|---|---|---|
| Hybrid | Under ₩1,000,000 | The practical choice. Upright position is comfortable for long days. Flat bars give you control. Tires handle both paved paths and the occasional rough section. This is what most first-timers ride. |
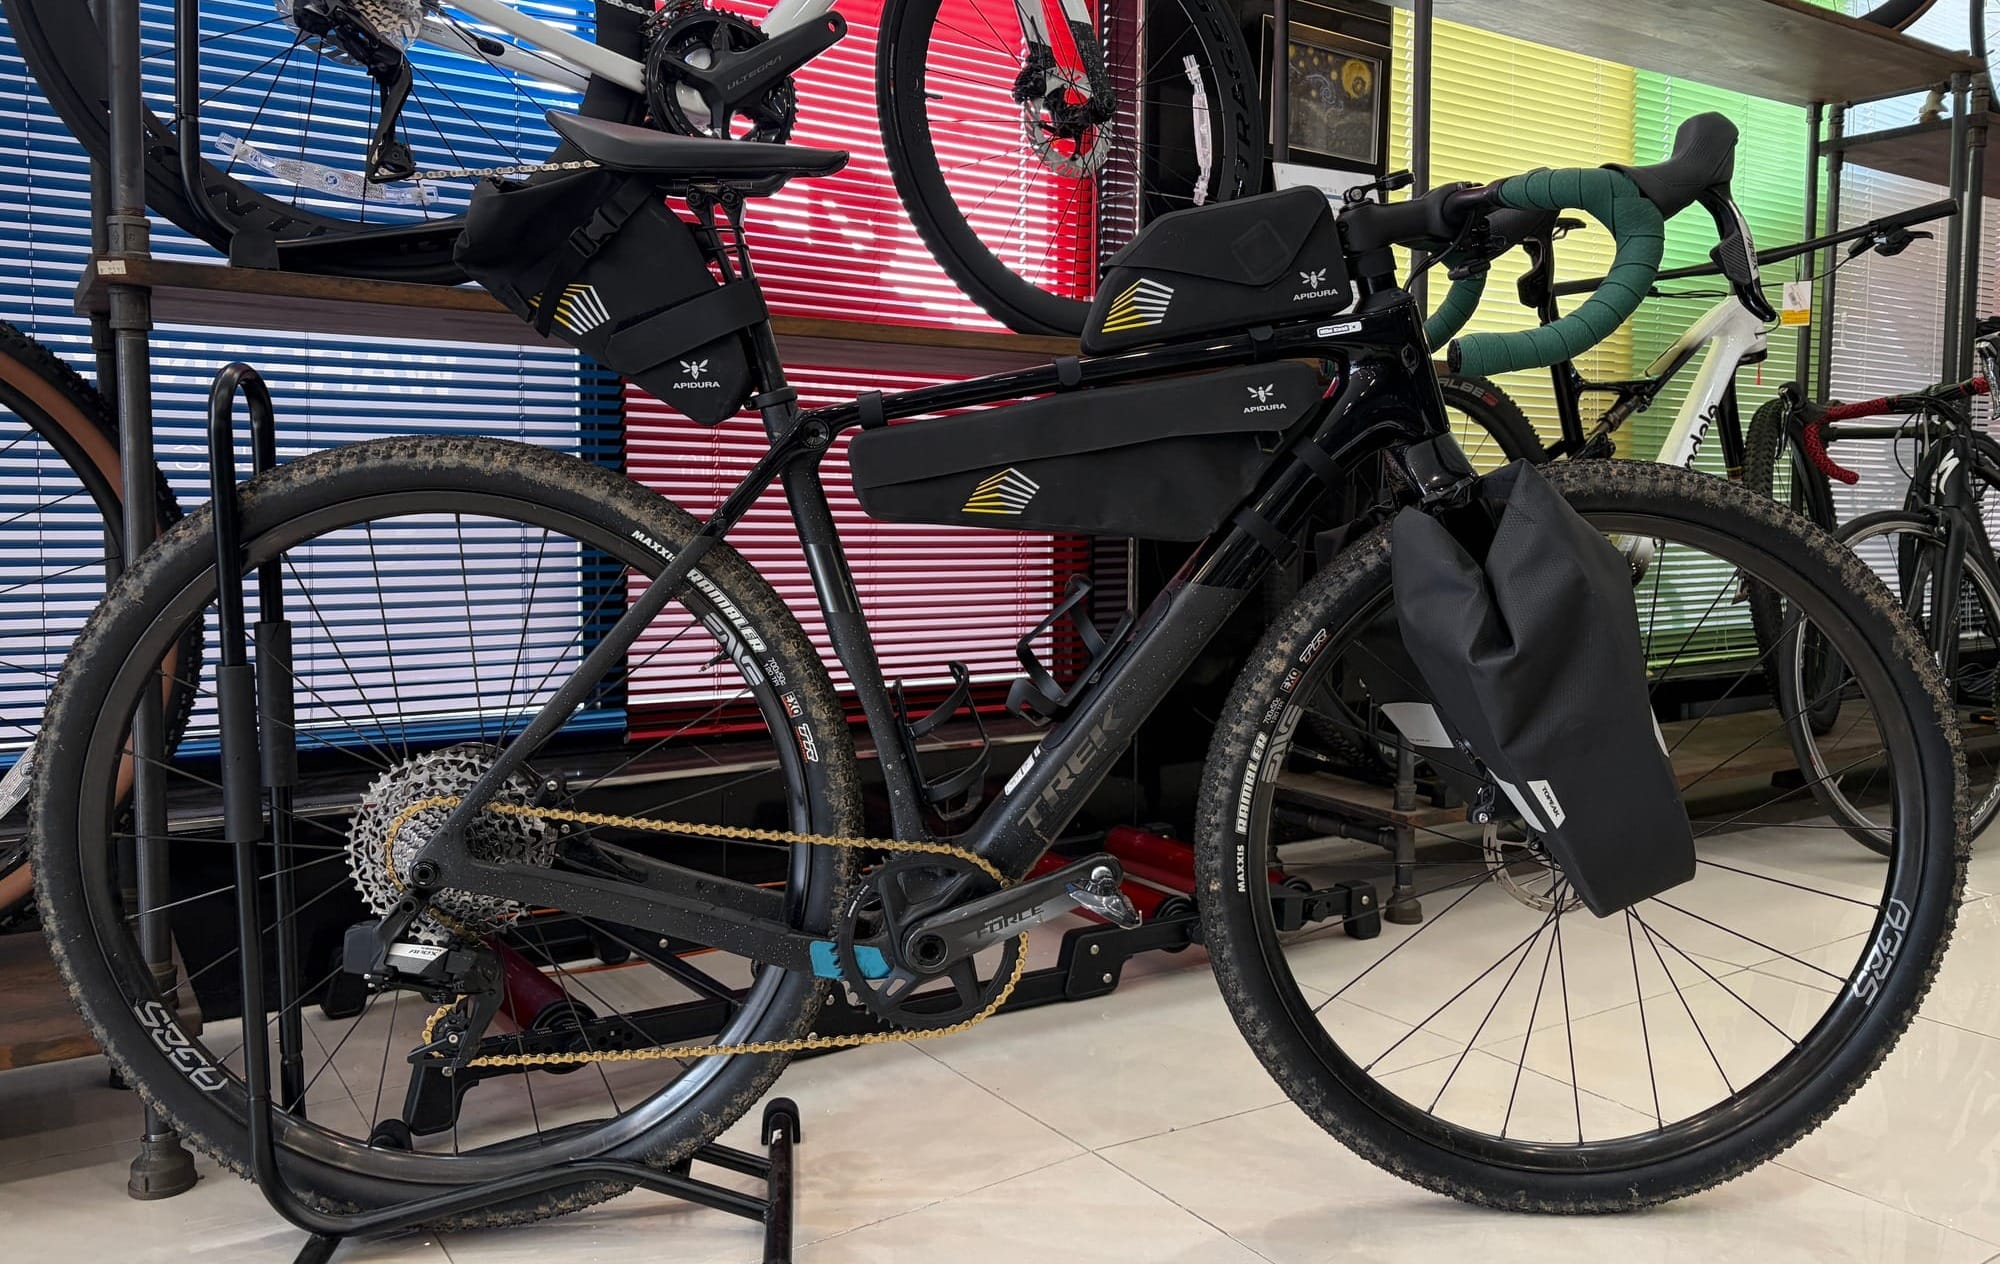
| Gravel | ₩3,000,000–5,000,000 | The upgrade pick. Drop bars, wider tires, and a more aggressive riding position. Faster on pavement, more capable on rough surfaces. Great if you plan to do more long-distance rides in the future. |
| Road | ₩1,500,000+ | Works fine — the route is 95% paved. But narrow tires and an aggressive position may not be the most comfortable choice for 5 days of all-day riding. |
Our recommendation: If you're buying a bike specifically for this trip, a good hybrid under ₩1,000,000 is the best value. If you already own a road or gravel bike, ride what you have — just make sure it's been serviced recently.
Whatever you ride, get it checked before you go. Brakes, tires, chain, shifting — everything should be dialed in. A mechanical issue 80 km from the nearest bike shop is not where you want to be.
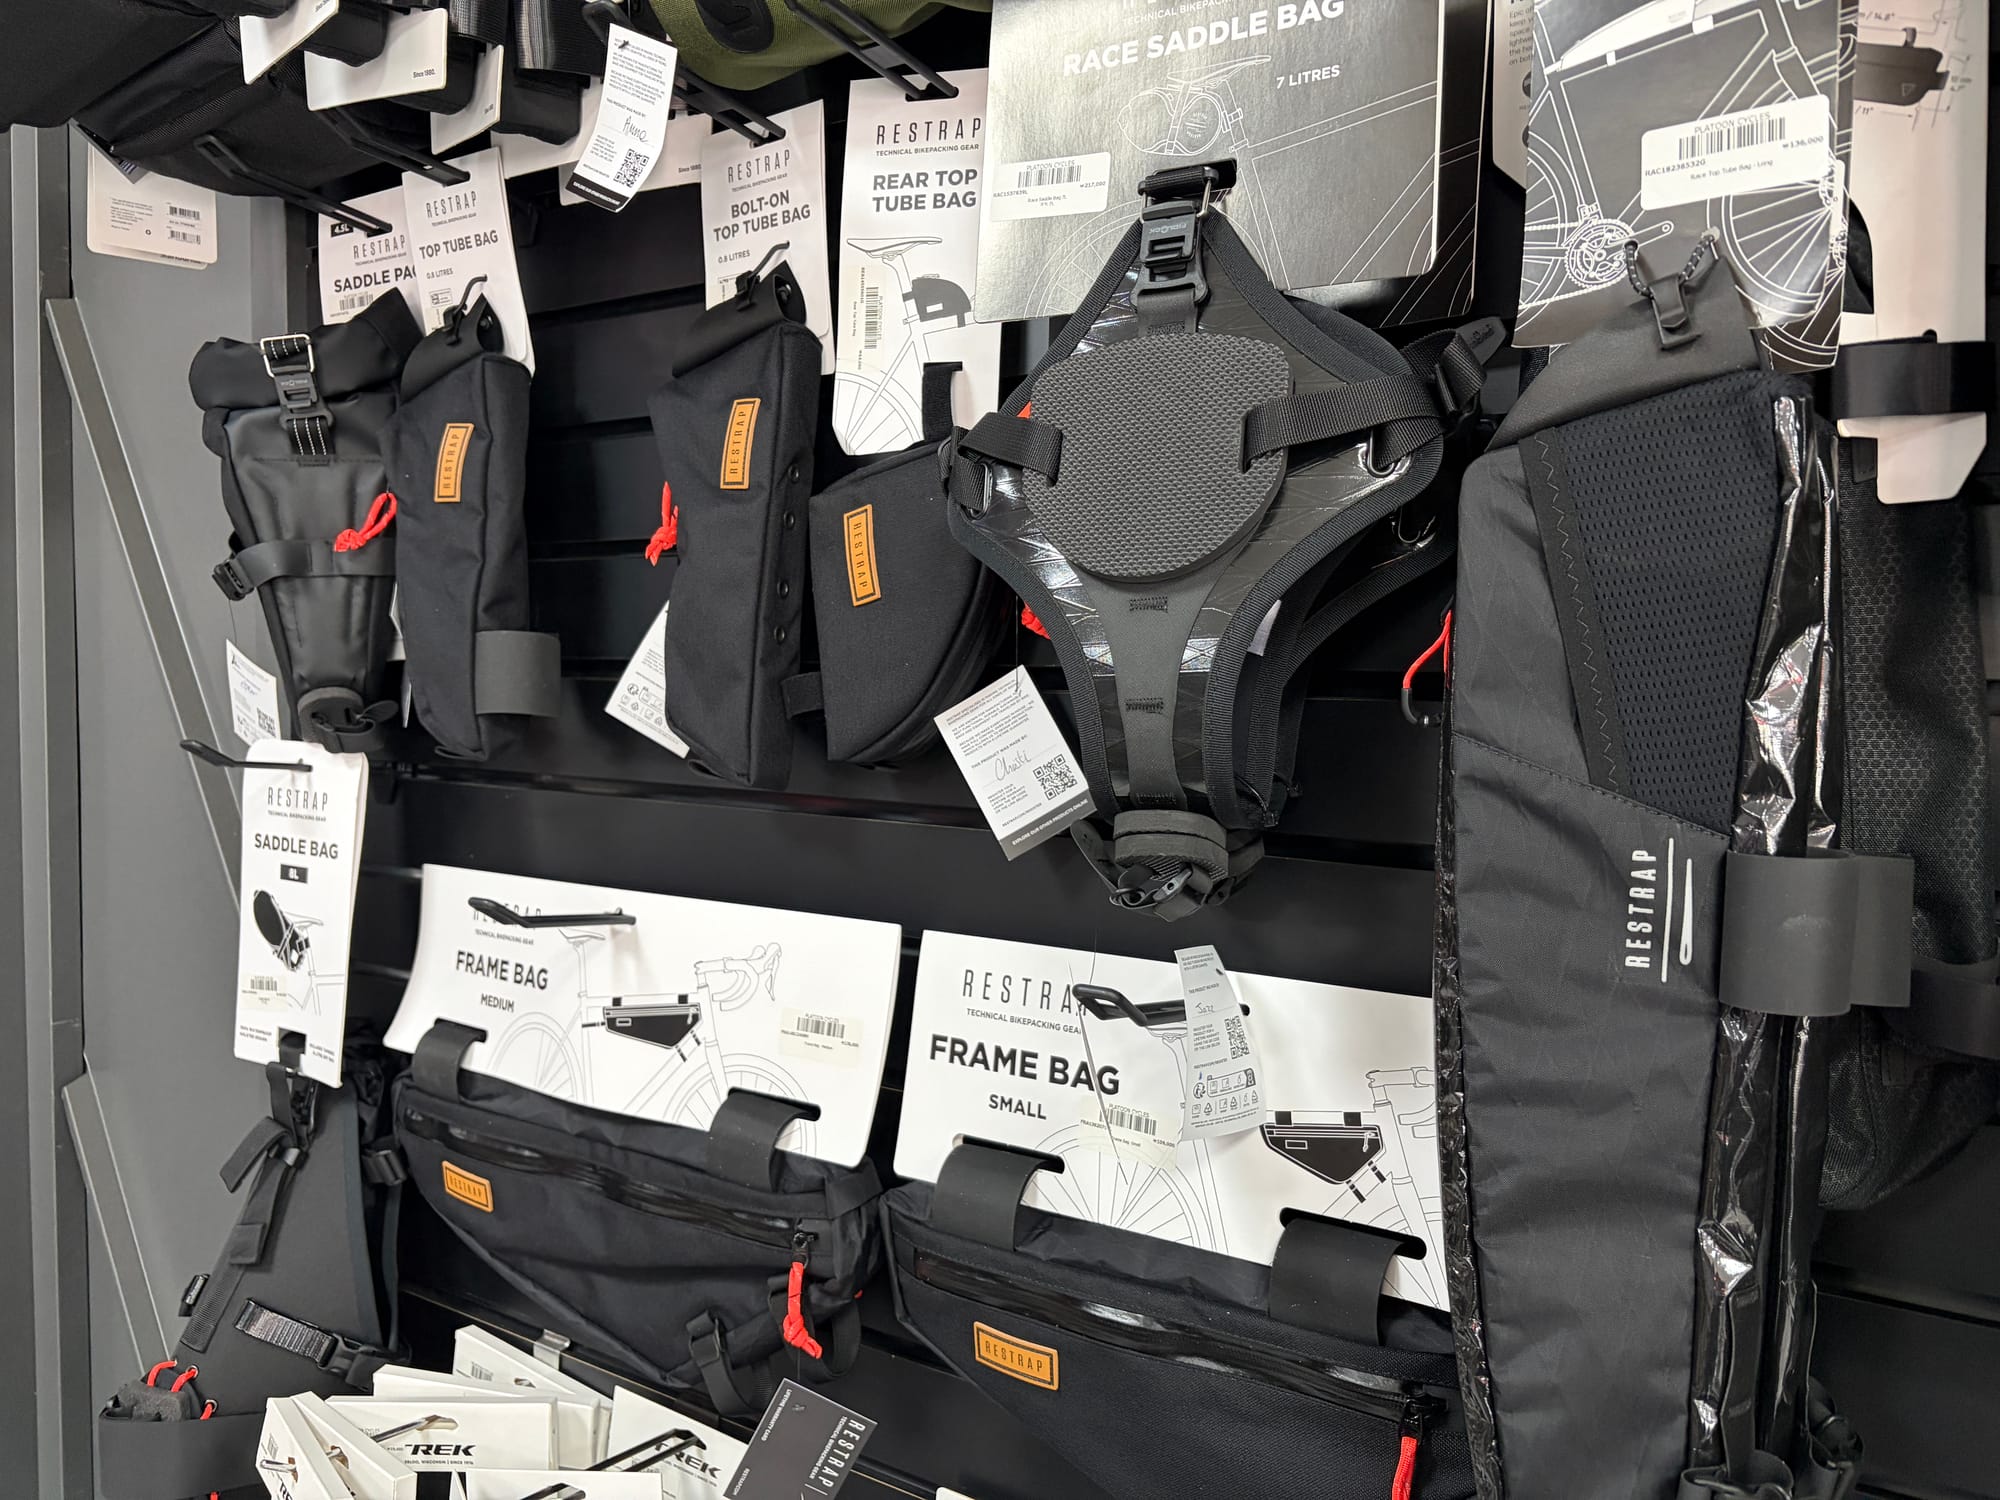
2. Gear & Accessories (장비)
Beyond the bike itself, here's what you might need to buy:
| Item | Estimated Cost | Notes |
|---|---|---|
| Saddle bag or panniers | ₩50,000–200,000 | Waterproof recommended. Avoid backpacks — they cause back sweat and shoulder fatigue. |
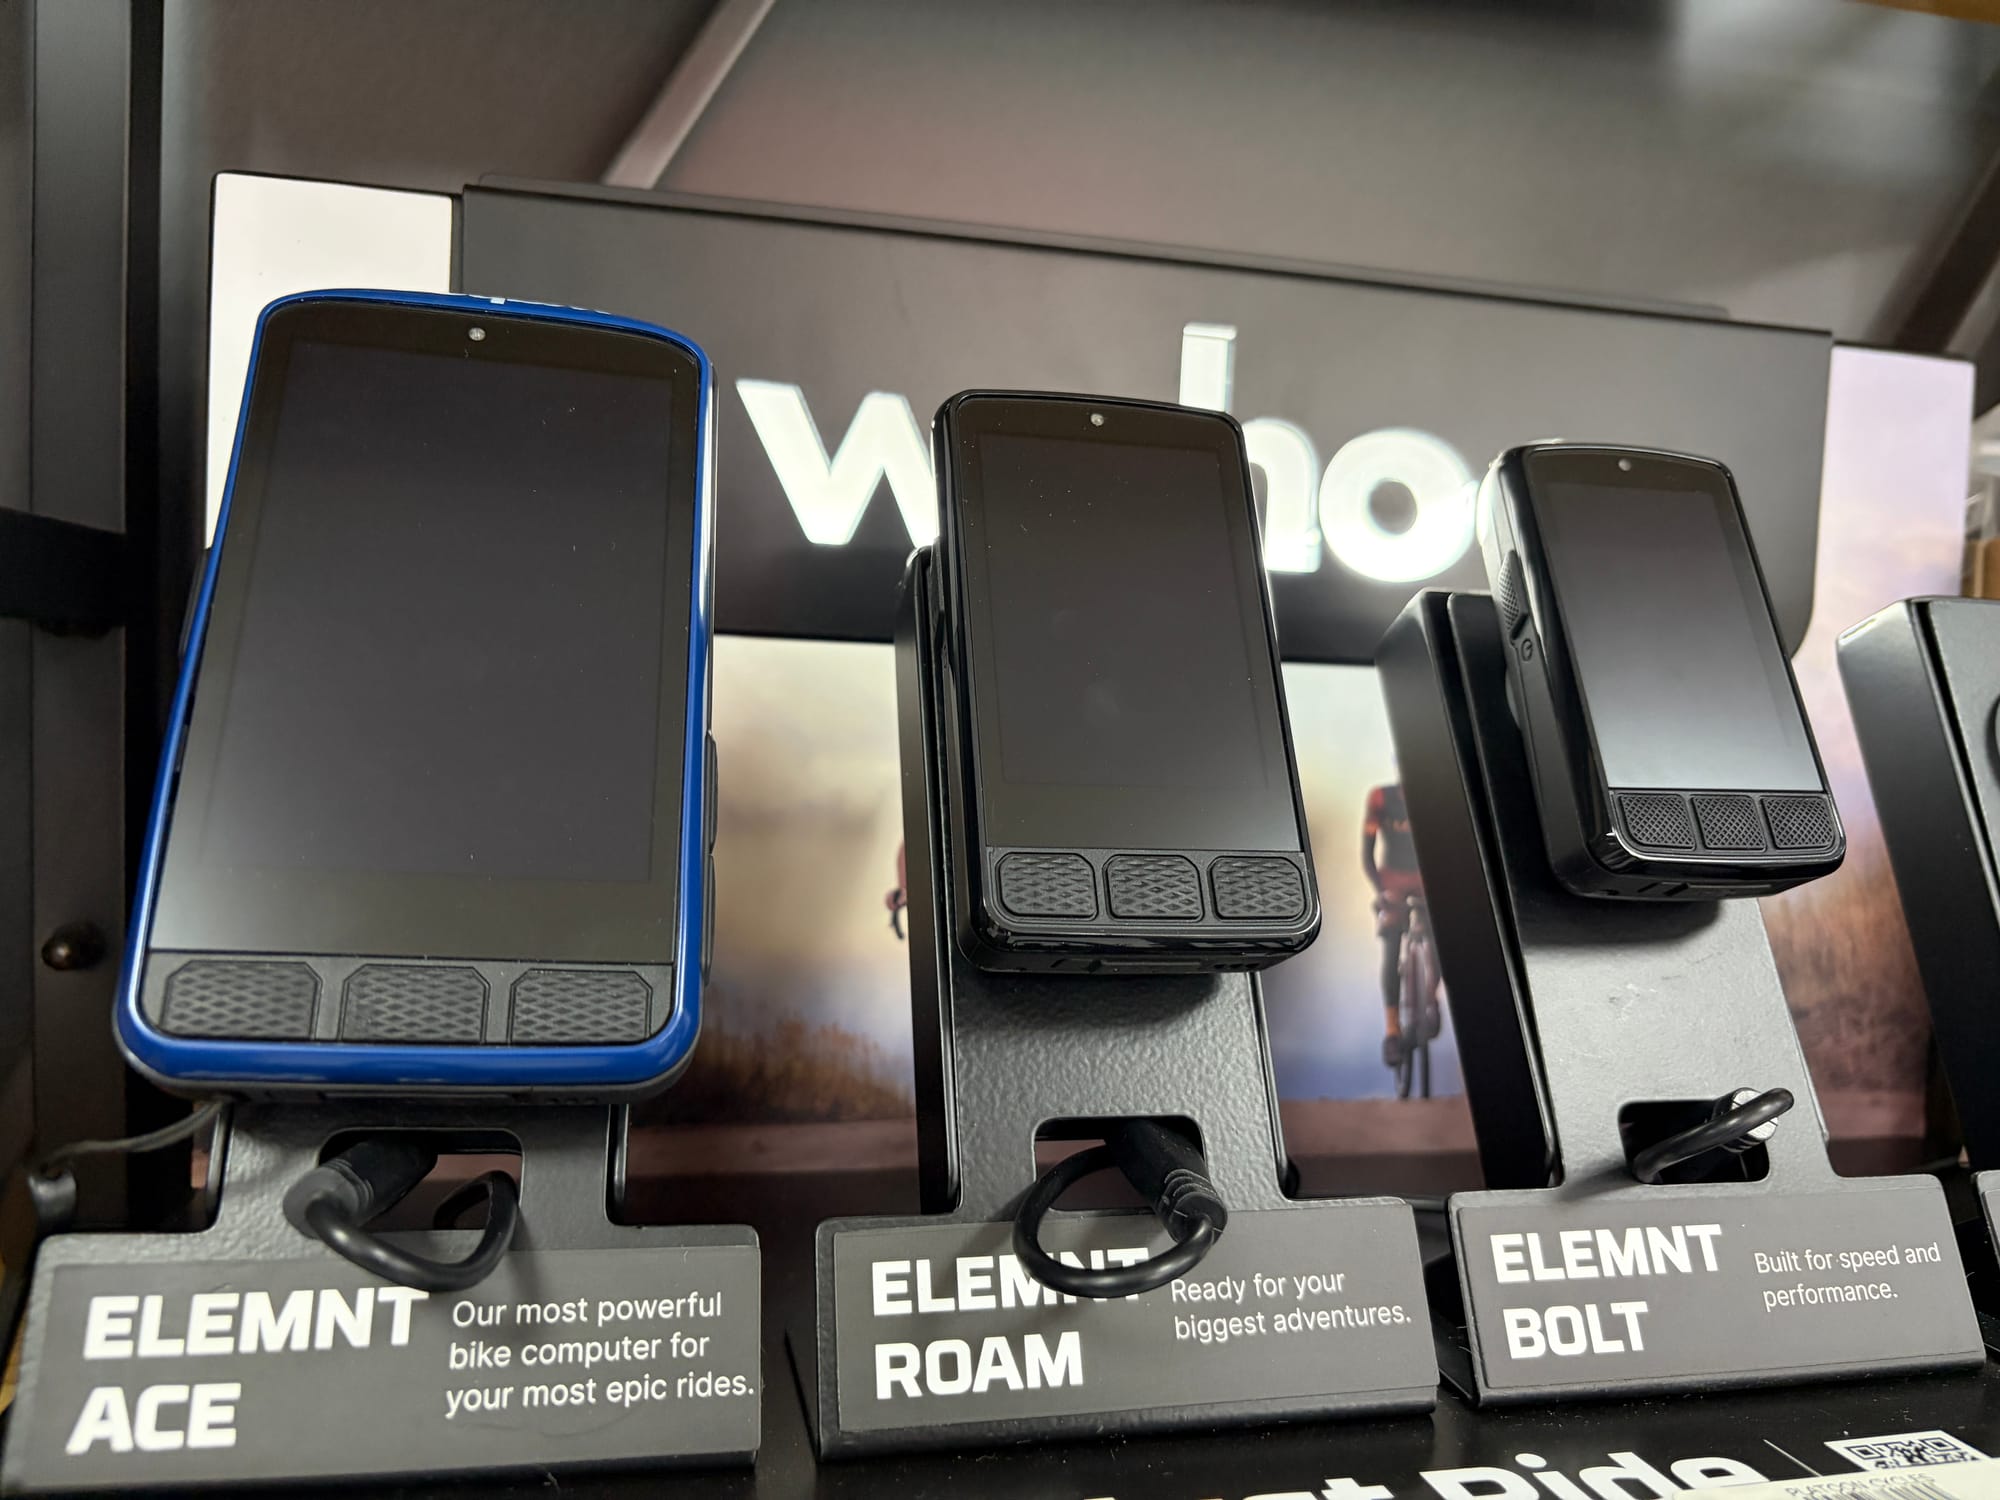
| Bike computer or phone mount | ₩30,000–300,000 | A dedicated GPS unit is nice but not essential. A sturdy phone mount + Naver Map works great. |
| Front & rear lights | ₩30,000–100,000 | You may end up riding at dusk. Good lights are non-negotiable. |
| Repair kit | ₩30,000–50,000 | Spare tubes, tire levers, mini pump, multi-tool. Details below. |
| Helmet | ₩50,000–150,000 | If you don't already have one. |
| Cycling shorts (padded) | ₩30,000–80,000 | Your single most important comfort item. |
| Lock | ₩15,000–30,000 | For convenience store stops and meals. |
Total gear budget: ₩500,000–1,000,000 if you're starting from scratch and need everything, including a bike computer. If you already have most of this, you might only need a bag and some tubes.
3. Trip Expenses (여행 경비)
This is the day-to-day cost of actually being on the road.
Transportation — Under ₩200,000 total (round trip)
| Leg | Method | Cost |
|---|---|---|
| Getting to Incheon (start) | Subway or drive | ₩5,000–20,000 |
| Busan → Seoul (return) | KTX bullet train | ~₩60,000 |
| Bike shipping or taxi to station | Varies | ₩10,000–30,000 |
KTX note: You'll need to partially disassemble your bike (remove front wheel) and put it in a bike carry bag to board KTX. Buy a lightweight bike bag before your trip — you can strap it to your bike during the ride and use it at the end. Total travel time: about 2 hours 40 minutes from Busan to Seoul.
Accommodation — ₩50,000–80,000 per night
Motels are the standard choice. They're everywhere along the route, clean enough, and always have hot showers — which is all you really need after 120 km in the saddle.
| Type | Price/Night | Notes |
|---|---|---|
| Motel | ₩50,000–80,000 | Most common option. Cheaper as you get further from Seoul, but fewer choices and older facilities. |
| Jjimjilbang (찜질방) | ₩10,000–15,000 | Budget option. Public bath + sleeping area. Great for sore muscles. |
| Pension | ₩60,000–100,000+ | Good for groups splitting the cost. |
| Camping | Free–₩15,000 | Some official campsites along the route. Bring a lightweight setup. |
For a 5-day trip with 4 nights: ₩200,000–320,000 in accommodation.
Booking tip: Don't book everything in advance. Your daily progress depends on weather, energy, and luck. Check Naver Map for nearby motels when you're about 1–2 hours from stopping for the day. In peak season (April–May, September–October), consider booking your Day 2 stop (Mungyeong area) ahead — it's smaller and can fill up.
Food — ₩20,000–30,000 per day
| Meal | Where | Cost |
|---|---|---|
| Breakfast | Convenience store or energy bar | ₩3,000–5,000 |
| Lunch | Restaurant along the route | ₩8,000–12,000 |
| Dinner | Restaurant near accommodation | ₩8,000–15,000 |
| Snacks & drinks | Convenience stores | ₩5,000–10,000 |
Convenience stores (CU, GS25, 7-Eleven) are your best friend. They're everywhere in the Seoul–Han River section, and reasonably available until Mungyeong. After that — especially on the Nakdong River path — they get sparse. Always top off your water and grab extra snacks when you see one.
Budget Summary (5-Day Trip)
| Category | Budget | Notes |
|---|---|---|
| Transportation | ~₩100,000–200,000 | To start + KTX return |
| Accommodation (4 nights) | ~₩200,000–320,000 | Motel average |
| Food (5 days) | ~₩100,000–150,000 | Mix of restaurants & convenience stores |
| Trip total | ₩400,000–670,000 | Per person, excluding bike & gear |
That's roughly $300–500 USD for the entire trip. For an experience this big, it's remarkably affordable.
What to Bring (필수 장비)
Pack light. You're carrying everything on your bike for 633 km. Every extra item adds weight, and weight adds up fast.
The Non-Negotiables
1. Flat Tire Repair Kit (펑크 수리 키트)
This is #1 for a reason. Flat tires happen — it's not a matter of if, but when. And between major cities, there are no bike shops.
Your kit should include:
- 2 spare inner tubes (check your tire size before buying)
- Tire levers (2–3 pieces)
- Portable mini pump and/or CO2 inflator cartridges
- Patch kit (as backup to spare tubes)
- Multi-tool with hex wrenches
Critical: know how to use all of this before you leave. Practice changing a tube at home. On the road is not the time to learn.

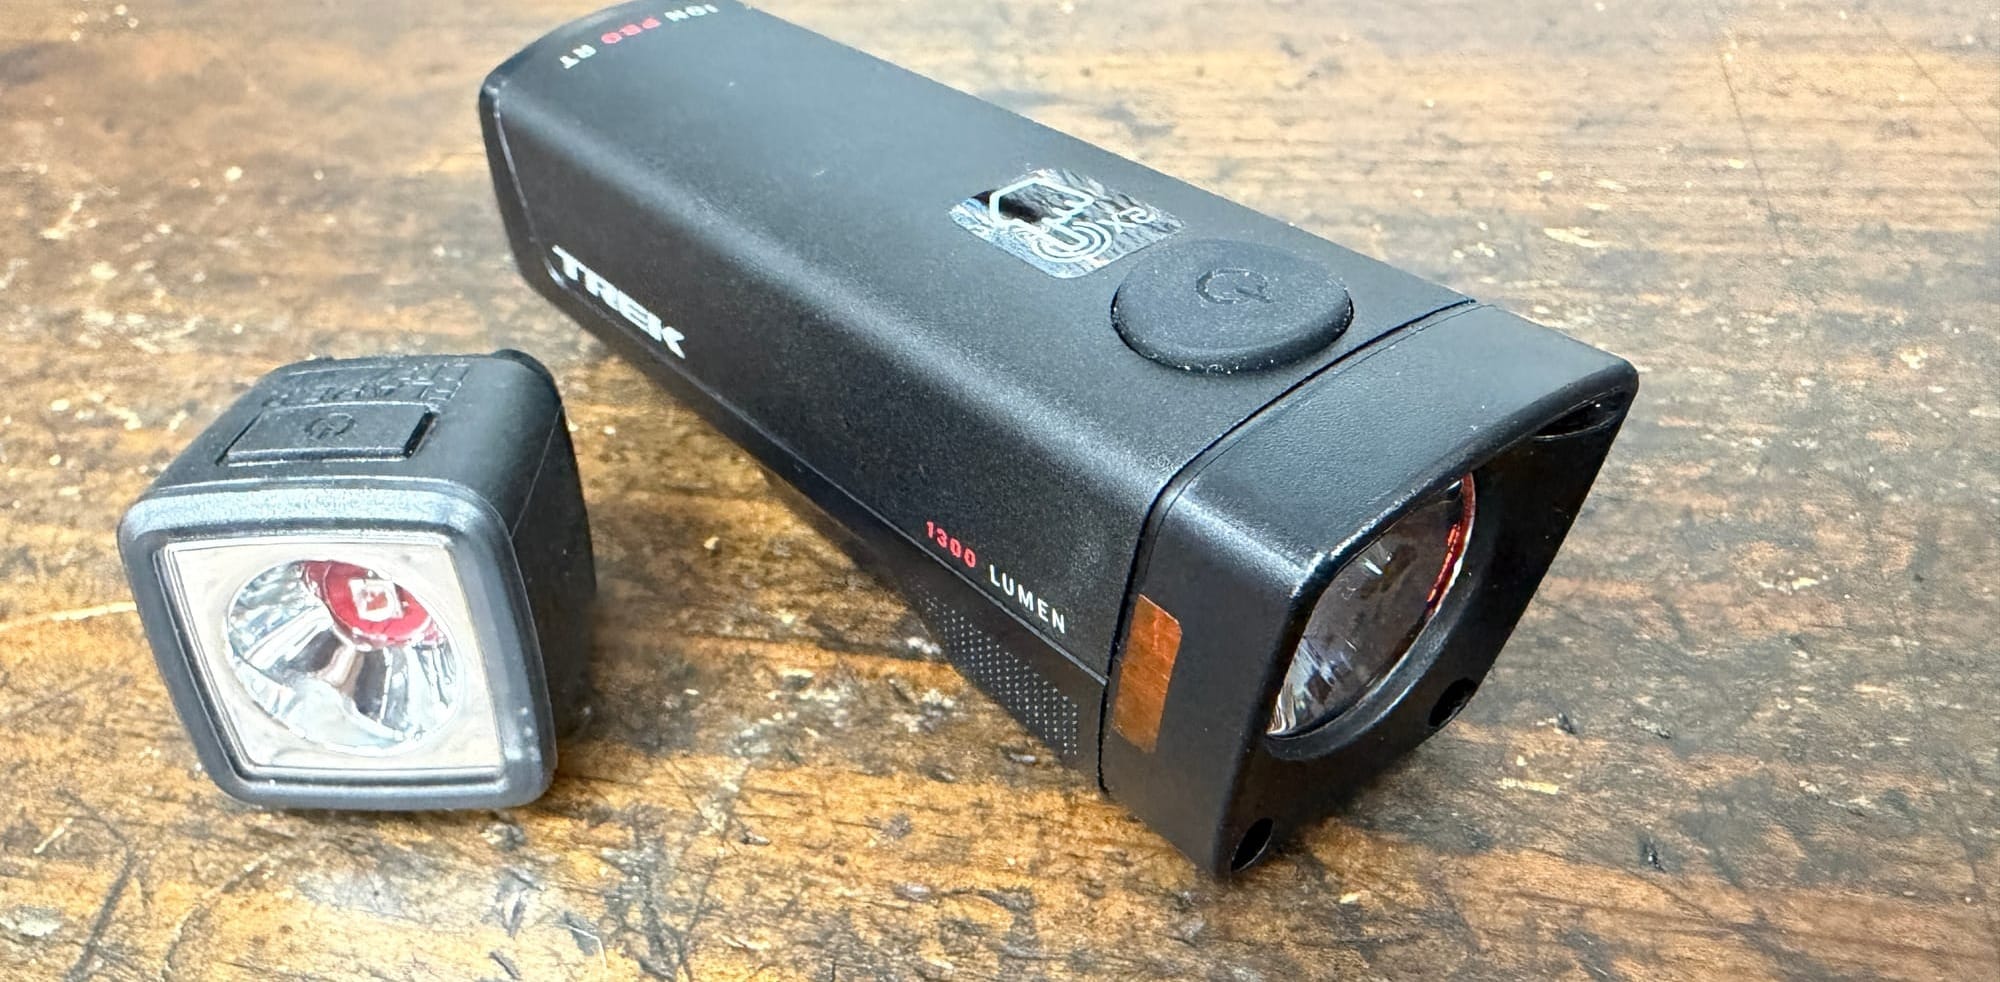
2. Lights (라이트)
You might plan to finish before dark every day. Plans change. A late start, a wrong turn, a longer lunch — suddenly you're riding at dusk with no lights on a path with no streetlights.
- Front light: bright enough to see the path
- Rear light: red, blinking mode
- Charge them every night at your accommodation
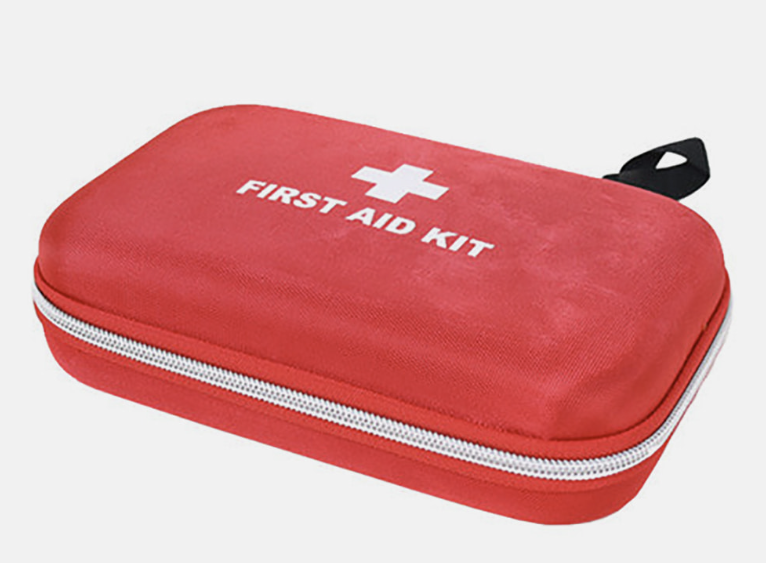
3. Basic First Aid Kit (응급처치 키트)
Nothing fancy. Band-aids, antiseptic wipes, pain relievers (ibuprofen), and any personal medication. Road rash from a minor fall is the most common injury.
4. Cash (현금)
95% of places accept cards. But for that 5% — a rural vending machine, a small-town restaurant, a staffed certification center selling Bike Passports — you'll want some cash. ₩50,000–100,000 should be plenty.
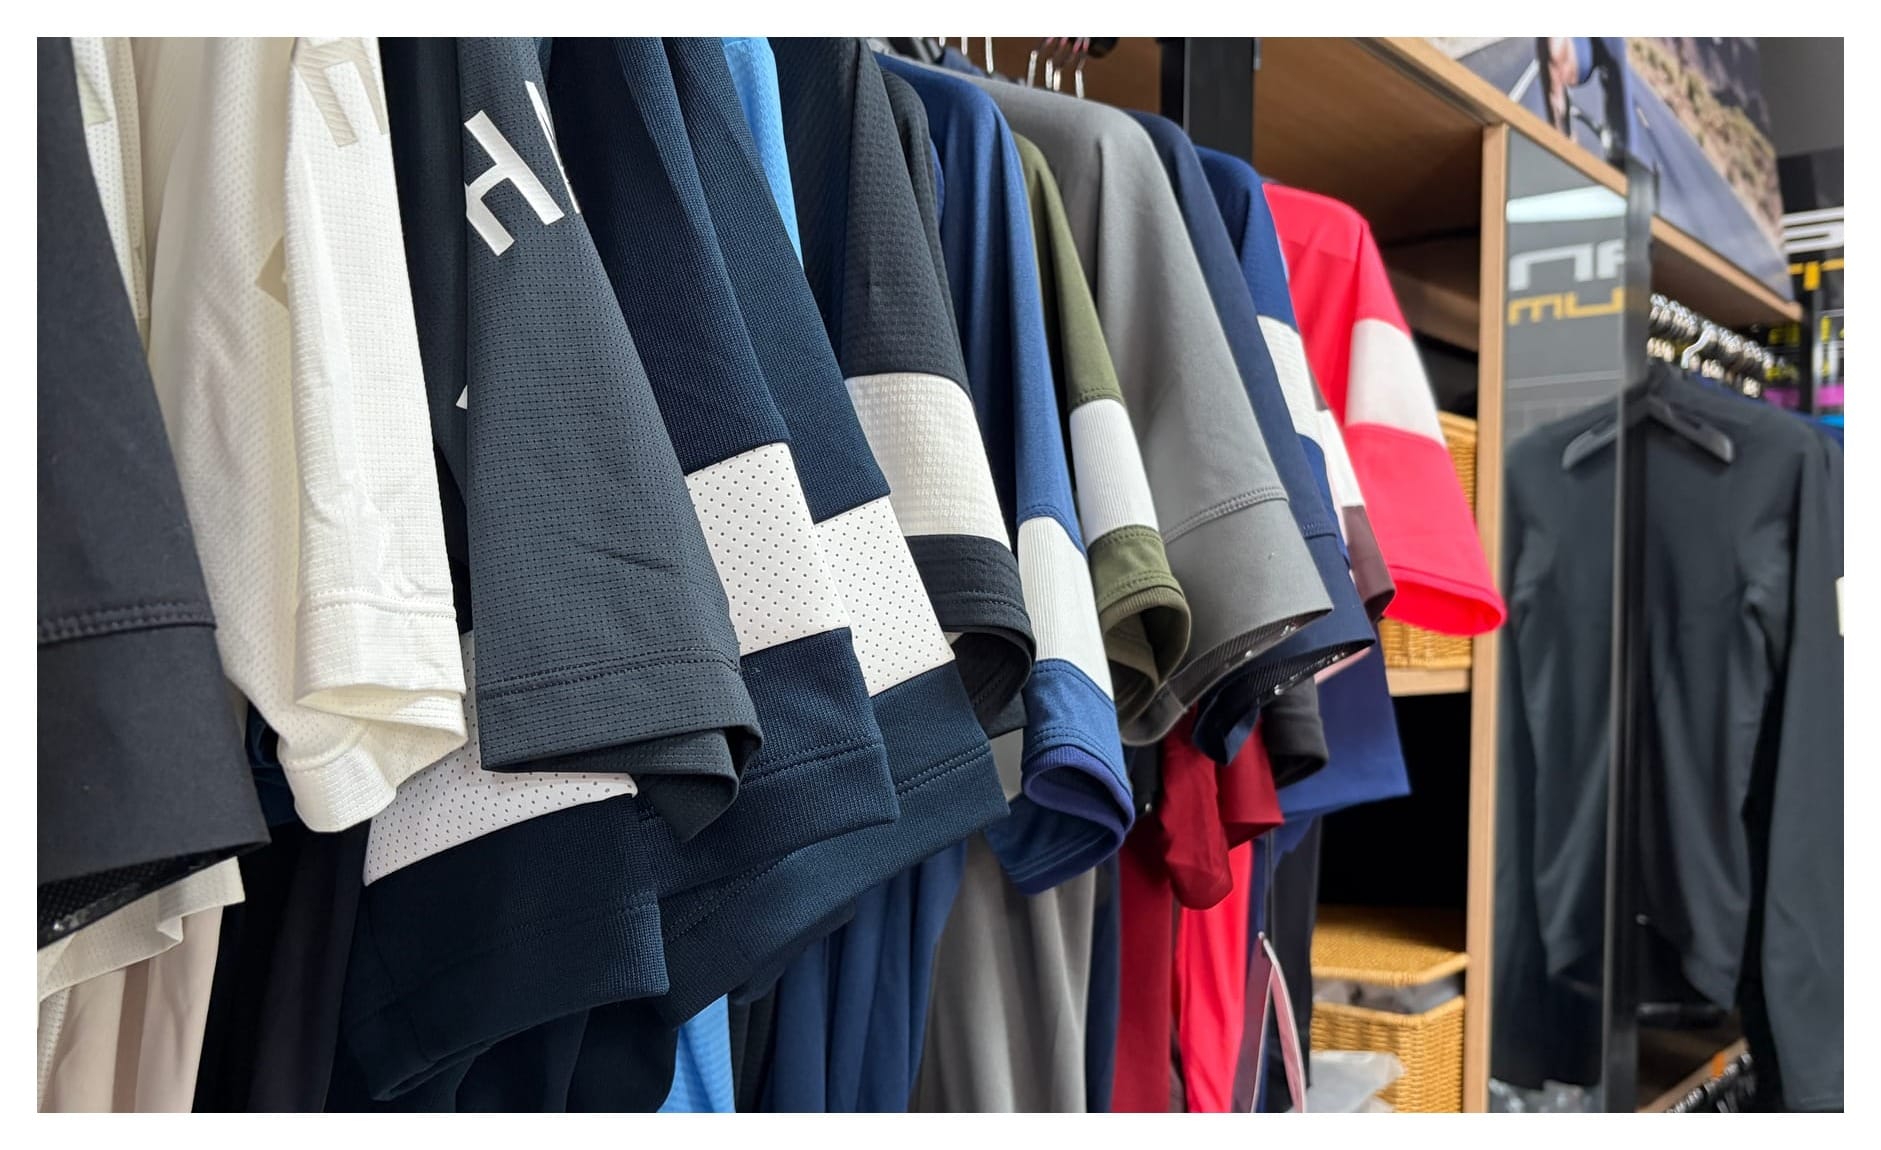
Clothing Strategy (의류 전략)
This is where most first-timers overpack. Here's the secret:
You only need one set of cycling clothes.
Wear them all day. When you get to your accommodation, shower with them on (or hand-wash them in the sink). Hang them up. By morning, they're dry and ready to wear again. Cycling-specific fabrics are designed for this — they dry fast.
Here's your full clothing list:
| Item | Qty | Notes |
|---|---|---|
| Cycling shorts (padded bib) | 1 | The most important piece. Padded chamois = saddle comfort. |
| Cycling jersey | 1 | Pockets in the back for snacks and phone. |
| Lightweight jacket | 1 | For morning chill, mountain descents, and unexpected rain. A packable wind/rain jacket is ideal. |
| Off-bike clothes | 1 set | Shorts + t-shirt for evenings. Something to wear while your cycling kit dries. |
| Socks | 2 pairs | One to ride in, one spare. |
| Underwear | 2 | For off-bike use. Never wear underwear under cycling shorts. |
| Sandals or flip-flops | 1 pair | For the hotel room and evening walks. |
That's it. Resist the urge to pack more.
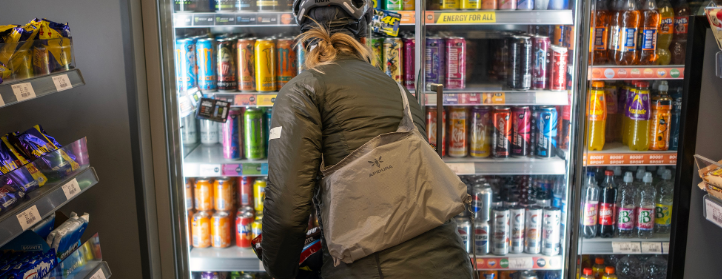
Food & Water on the Road (보급)
Don't overpack food. You're not riding through the wilderness — Korea has convenience stores. Carry only emergency reserves and buy the rest as you go.
| Carry with you | Buy along the way |
|---|---|
| 2–3 energy bars (emergency) | Water (top off at every convenience store) |
| Energy gels or candy | Snacks, kimbap, onigiri |
| Sports drinks (Pocari Sweat, Powerade) | |
| Real meals at restaurants |
Water strategy: Carry two bottles. Refill at every convenience store you pass — especially after Mungyeong, where stores get sparse. On the Nakdong River path, there can be stretches of 20–30 km with nothing. Don't gamble on finding one later.
The Complete Packing Checklist
On the bike:
- [ ] Saddle bag or panniers (packed)
- [ ] 2 water bottles
- [ ] Front & rear lights
- [ ] Phone mount + charging cable
- [ ] Portable battery pack (large capacity — you'll use GPS all day)
- [ ] Bike lock
In your bag:
- [ ] Flat repair kit (tubes, levers, pump, multi-tool)
- [ ] Lightweight jacket
- [ ] Off-bike clothes (1 set)
- [ ] Extra socks (1 pair)
- [ ] First aid kit
- [ ] Sunscreen (SPF50, waterproof — reapply often)
- [ ] Chamois cream or Vaseline
- [ ] Cash (₩50,000–100,000)
- [ ] Flip-flops
- [ ] 2–3 emergency energy bars
On your body:
- [ ] Helmet
- [ ] Cycling shorts (padded)
- [ ] Cycling jersey
- [ ] Sunglasses
- [ ] Gloves (optional but recommended)
You do NOT need:
- Extra cycling clothes (wash and reuse)
- Toiletries beyond sunscreen and chamois cream (motels provide soap, shampoo, toothbrush)
- Cooking gear (you're not camping — unless you choose to)
- Heavy tools (the multi-tool covers it)
Before You Go: The Pre-Ride Checklist
2 weeks before:
- [ ] Get your bike serviced (brakes, tires, chain, shifting)
- [ ] Practice changing a flat tire
- [ ] Do at least one 100+ km ride
- [ ] Buy any missing gear
1 day before:
- [ ] Charge all devices and lights
- [ ] Check tire pressure
- [ ] Pack your bags — then remove one thing
- [ ] Download offline maps (Naver Map) for your route
- [ ] Check the weather forecast for the next 5 days
Morning of Day 1:
- [ ] Apply chamois cream
- [ ] Fill water bottles
- [ ] Take a photo at the starting gate
- [ ] Ride
Quick Reference: What Does It All Cost?
| Item | First-Timer (Buying Everything) | Already Have a Bike & Gear |
|---|---|---|
| Bike(Trek FX series) | ₩800,000–1,000,000 | ₩0 (service check: ₩50,000–80,000) |
| Gear & accessories | ₩500,000–1,000,000 | ₩50,000–100,000 (tubes, consumables) |
| Trip expenses (5 days) | ₩400,000–670,000 | ₩400,000–670,000 |
| Grand total | ₩1,700,000–2,670,000 | ₩500,000–850,000 |
For a first-timer buying everything from scratch: roughly ₩2,000,000 (~$1,500 USD). For someone who already rides: under ₩1,000,000 (~$700 USD). Either way — you're crossing an entire country for less than a weekend trip to Japan.
Next in This Series
- What Is the Cross-Country Route?
- Planning Your Ride: Days, Budget & Gear ← You are here
- The Bike Passport: Korea's Stamp Rally System
- Stage-by-Stage Breakdown
- Where to Sleep & Eat Along the Way
- Navigation & Apps
- What I Wish I Knew Before My First Cross-Country
Need help choosing a bike or getting your current one prepped? That's literally what we do.
Platoon Cycles
📍 157, Pyeongseongdaegyo-gil, Paengseong-eup, Pyeongtaek-si
📞 070-8845-7351
🌐 www.platooncycles.com
Comments ()