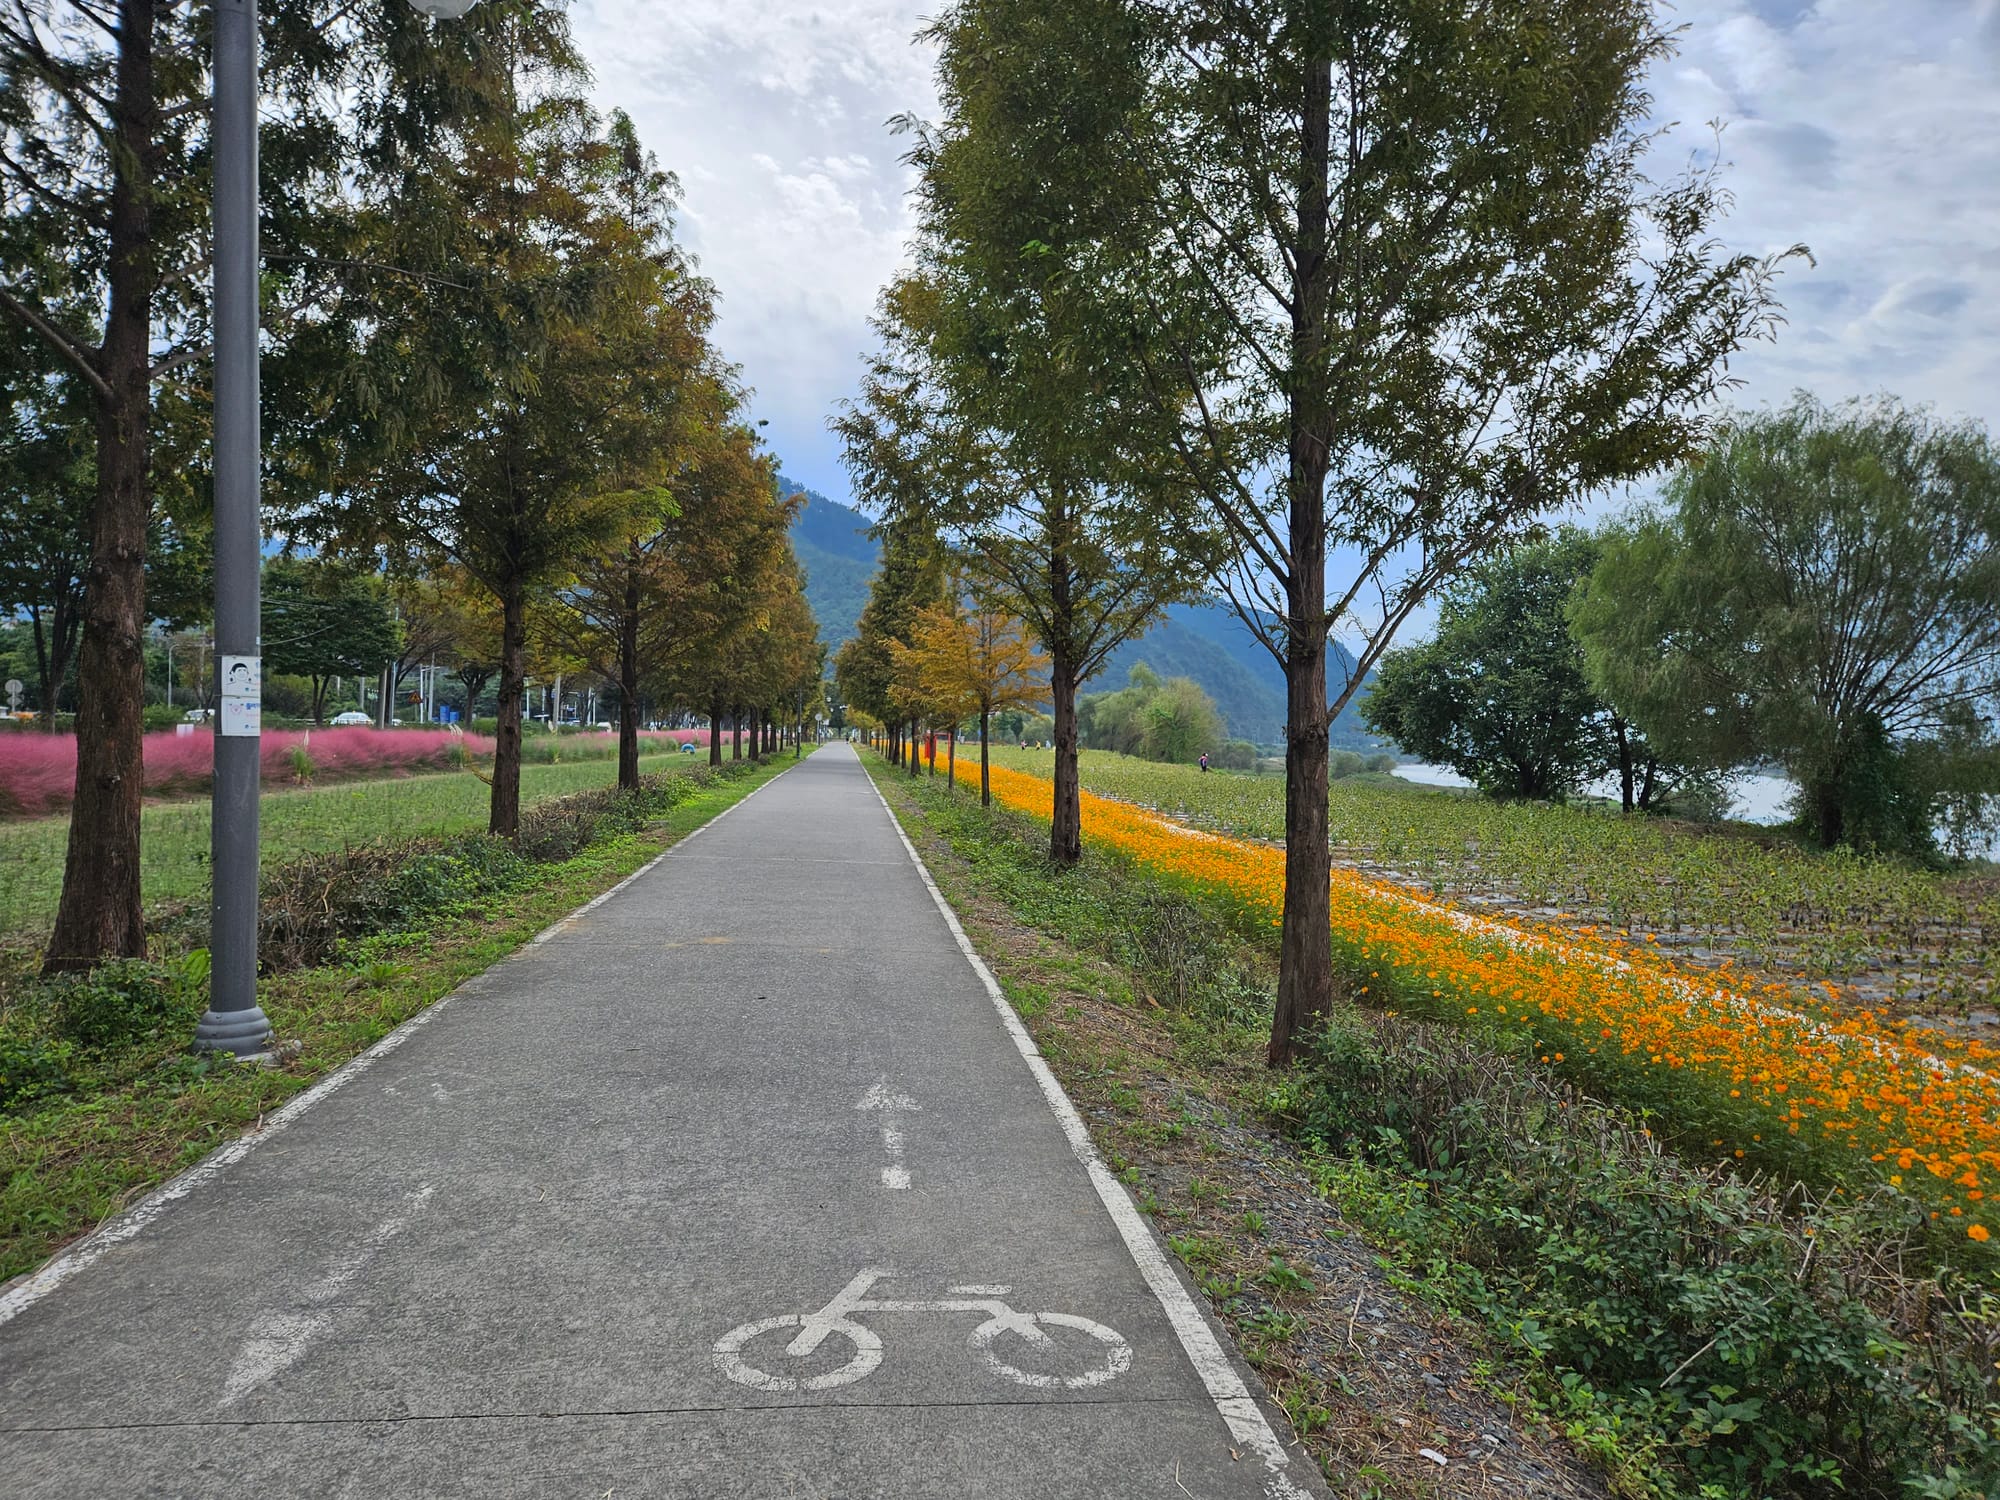
What I Wish I Knew Before My First Cross- [Country Cross-Country Series #7 Final]
![What I Wish I Knew Before My First Cross- [Country Cross-Country Series #7 Final]](/content/images/size/w1200/2026/03/20231001_180018-1.jpg)
This is the last post in the series. Parts 1 through 6 gave you the facts — route, gear, budget, stages, food, navigation. This one is different. This is what I learned by doing it wrong first.
I've ridden the cross-country route and helped hundreds of riders prepare for theirs. Some things you only learn by being out there. Here's the stuff nobody told me — and the stuff I tell every rider who walks into the shop before their trip.
1. Your Saddle Will Be Your Biggest Problem
Not the hills. Not the heat. Not navigation. Your saddle.
If you're not used to spending 8+ hours a day on a bike seat, nothing will prepare you for how Day 2 feels. Day 1 is fine — adrenaline carries you. Day 2 is when your body sends you the bill.
What actually helps:
- Padded cycling shorts (or bibs). This is non-negotiable. Cotton underwear under regular shorts for 633 km will hurt you. You don't need to spend $200 — even a basic pair of padded shorts from the shop makes a massive difference.
- Chamois cream. Apply it before you ride. Reapply at lunch. It prevents chafing. You'll feel silly using it on Day 1. By Day 3 you'll be grateful.
- Stand up every 20–30 minutes. Pedal standing for 30 seconds. Shift your weight. Let blood flow. It sounds small — it matters a lot over 120 km.
- Your saddle might just not fit you. If you've never done a multi-day ride, you won't know until you're on one. Come in before your trip and we'll check your saddle position. A 5mm adjustment can be the difference between finishing strong and limping into Busan.
2. Start Slower Than You Think
Day 1 energy is dangerous. You feel great. The weather is perfect. The path is flat. You push 25–30 km/h because why not?
Here's why not: you have four more days.
The riders who blow up on Day 3 are almost always the ones who went too hard on Day 1. Your legs feel fine after the first 100 km — but the fatigue is accumulating. It shows up two days later, usually right when you're staring at Saejae Pass.
The pacing rule:
Ride at a pace where you could have a conversation. If you're breathing too hard to talk, you're going too fast. This isn't a race. Nobody is timing you. The goal is to arrive in Busan with your legs still working and a smile on your face — not to set a Strava record that you'll pay for on Day 4.
3. The Wind Is the Real Hill
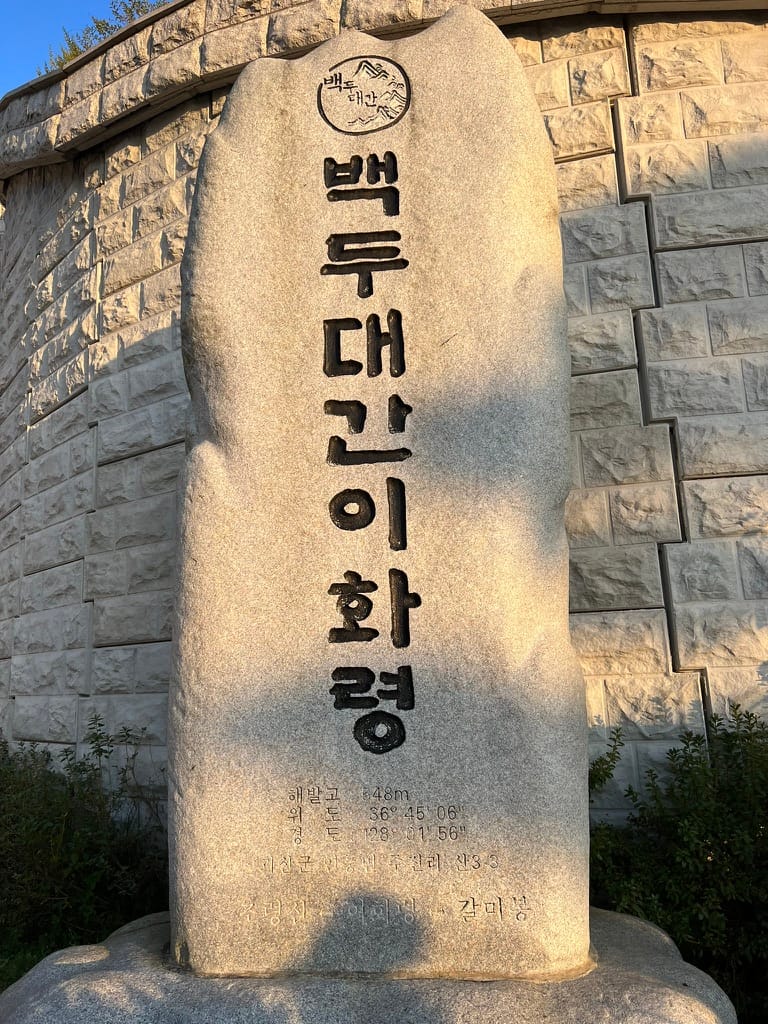
Everyone worries about Saejae Pass and Ihwaryeong. Those climbs are hard — but they're predictable. You can see the hill. You know it ends at the top. You grind up, you come down, it's done.
Wind is different. A headwind on the Nakdong River path — flat, open, no trees for cover — can slow you to 12 km/h for hours. It doesn't look hard. But it drains you just as much as climbing, and there's no summit where it stops.
What to do about it:
- Check the wind forecast the night before. Not just "windy" or "not windy" — check the direction. A tailwind day is a gift. A headwind day means adjusting your distance expectations.
- Start early on windy days. Wind in Korea typically picks up in the afternoon. If you're on the road by 6–7 AM, you can get 60–80 km done before the wind hits.
- Lower your expectations. A headwind day might mean 100 km instead of 130. That's fine. Adjust your overnight stop. Don't fight the wind for an extra 30 km just to stick to the plan.
- Draft if you're riding with someone. Take turns at the front. Even two riders alternating can save 20–30% of your energy in a headwind.
4. Bring Less Than You Think — Way Less
Every extra kilogram on your bike costs you energy over 633 km. I've seen riders show up with full panniers — rain gear for a typhoon, three changes of clothes, a laptop, a hardcover book. They regret it by lunchtime on Day 1.
The reality:
- You're passing through towns with convenience stores, laundromats, and shops. You can buy almost anything you forgot.
- You're sleeping in motels, not the wilderness. You don't need camping gear unless you specifically choose to camp.
- Korea in cycling season (spring/fall) has predictable weather. You don't need gear for every possible scenario.
Cycling clothes: one set is enough.
This surprises people, but you only need what you're wearing. When you get to your motel, shower with your kit on — or just wash it in the sink. Hang it up overnight and it's dry by morning. Cycling gear is performance fabric designed to dry fast. Even if it's still slightly damp when you start riding, it'll be completely dry within an hour. You're generating heat and airflow — the clothes take care of themselves. There's no reason to carry a second set.
Socks: bring 2–3 pairs.
This is the one exception. If your feet get wet — from rain, a puddle, a creek crossing — you want dry socks immediately. Wet feet lead to blisters, and blisters on Day 2 can end your trip. Change into dry socks as soon as you can. If your shoes are soaked too, put plastic bags over your dry socks before putting the shoes back on. Ride like that until the shoes dry out. It looks ridiculous. It works.
What you actually need on the bike:
- 1 set of cycling clothes (what you're wearing)
- 2–3 pairs of socks
- 1 set of off-bike clothes (for evenings)
- Rain jacket (lightweight, packable)
- Basic toiletries
- Phone, charger, power bank, cables
- Flat repair kit + portable multi-tool (see below)
- Cash (₩200,000 — enough for an unexpected motel, a taxi, or a mechanical emergency)
- Sunscreen, sunglasses
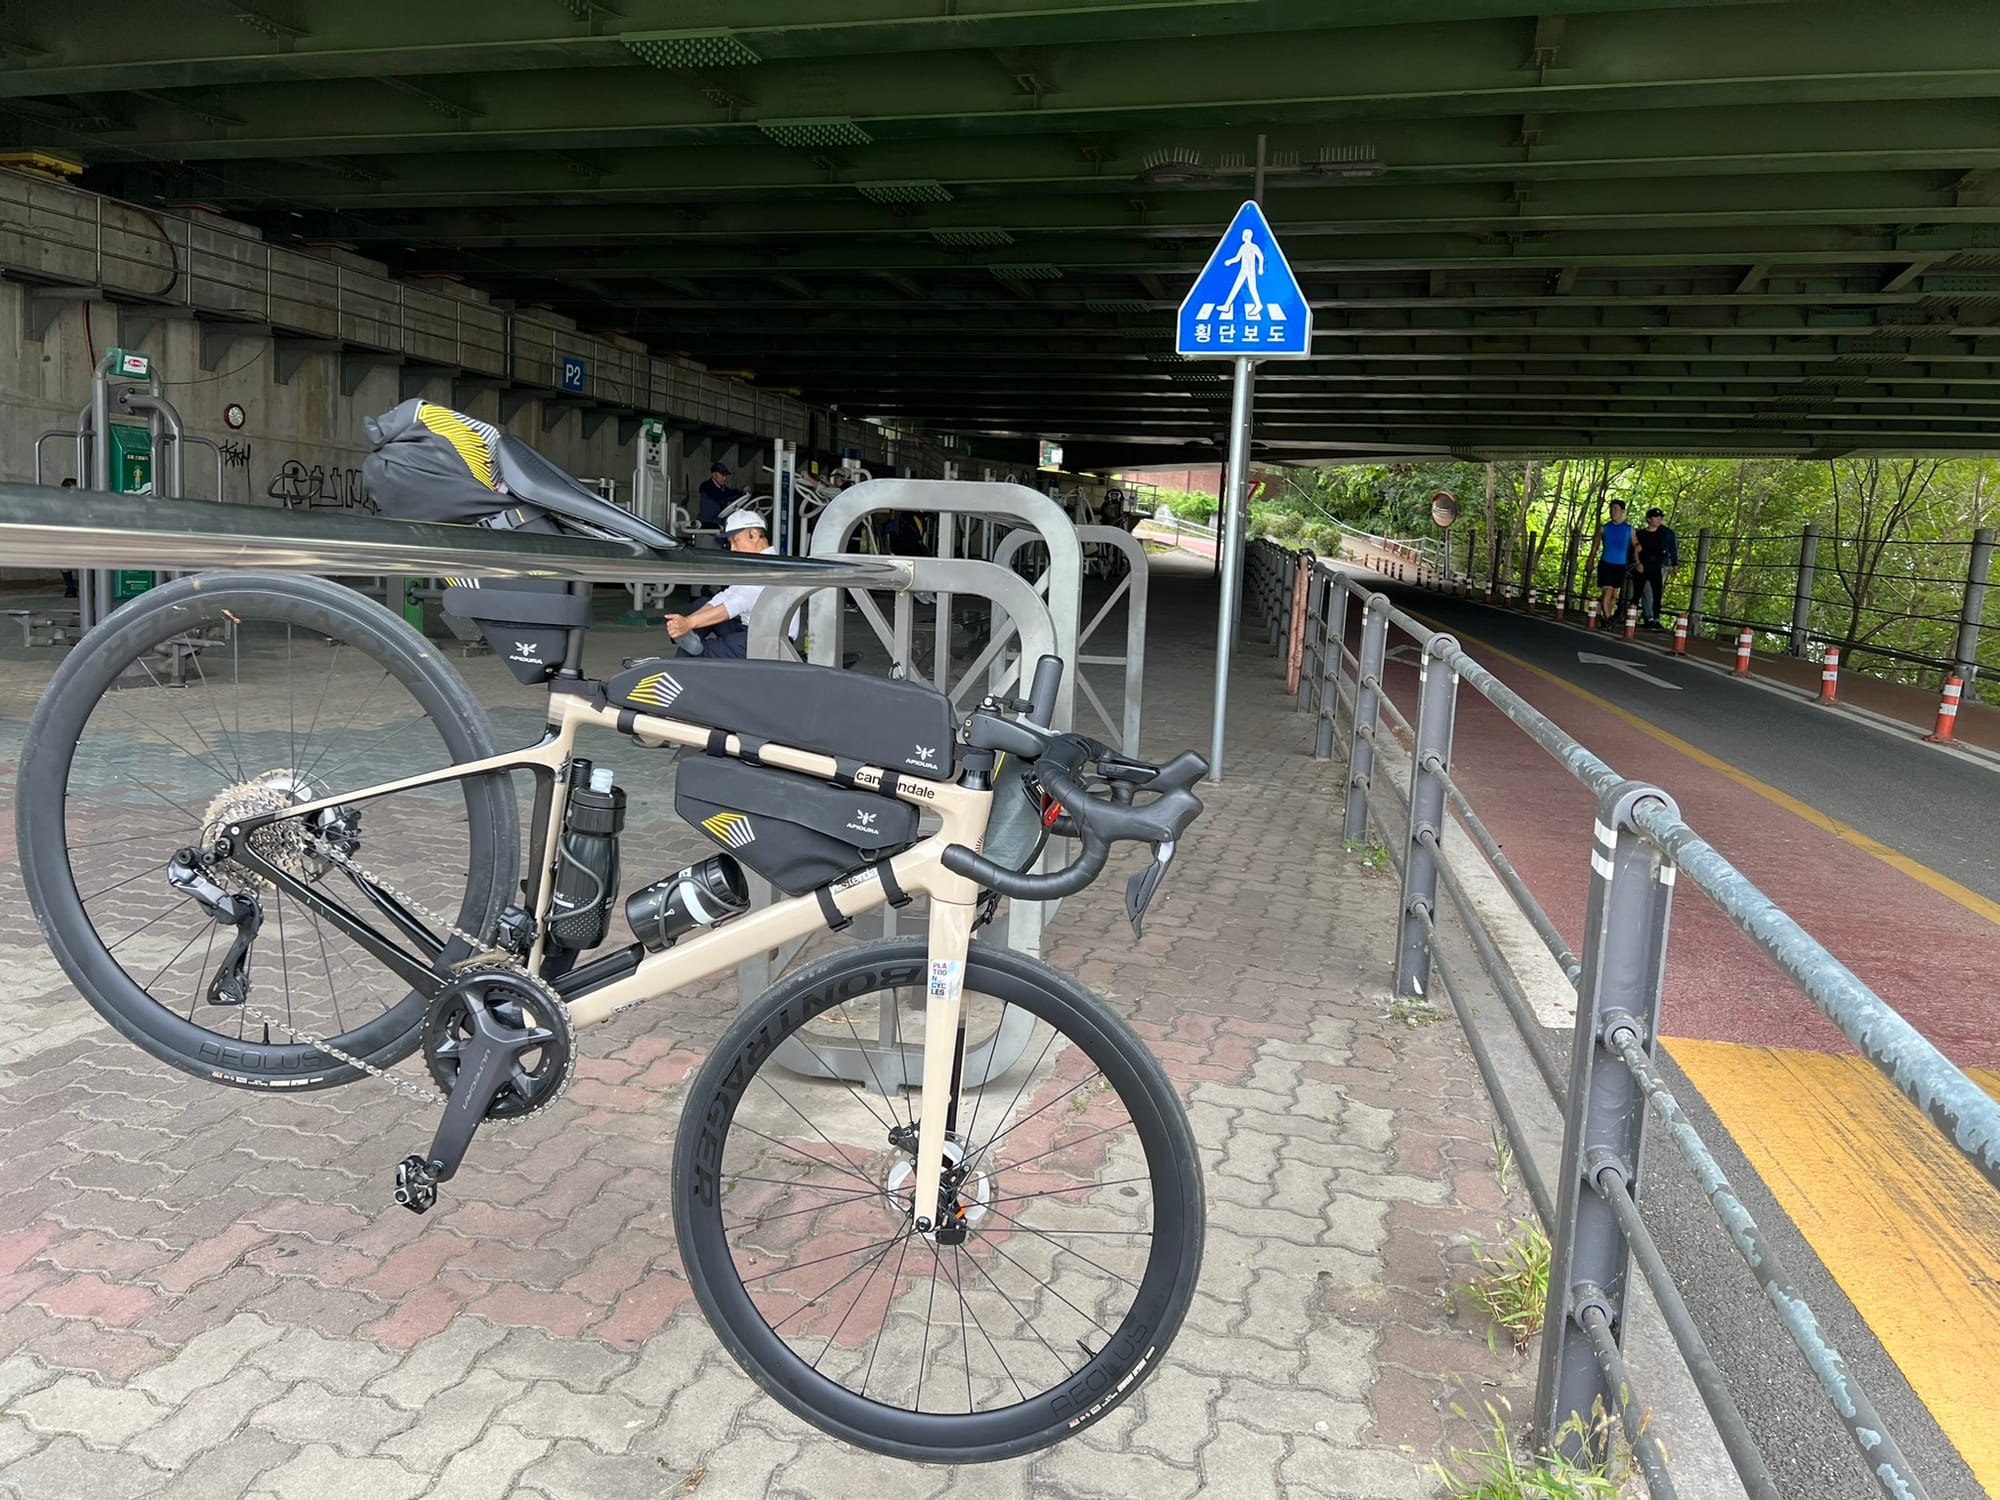
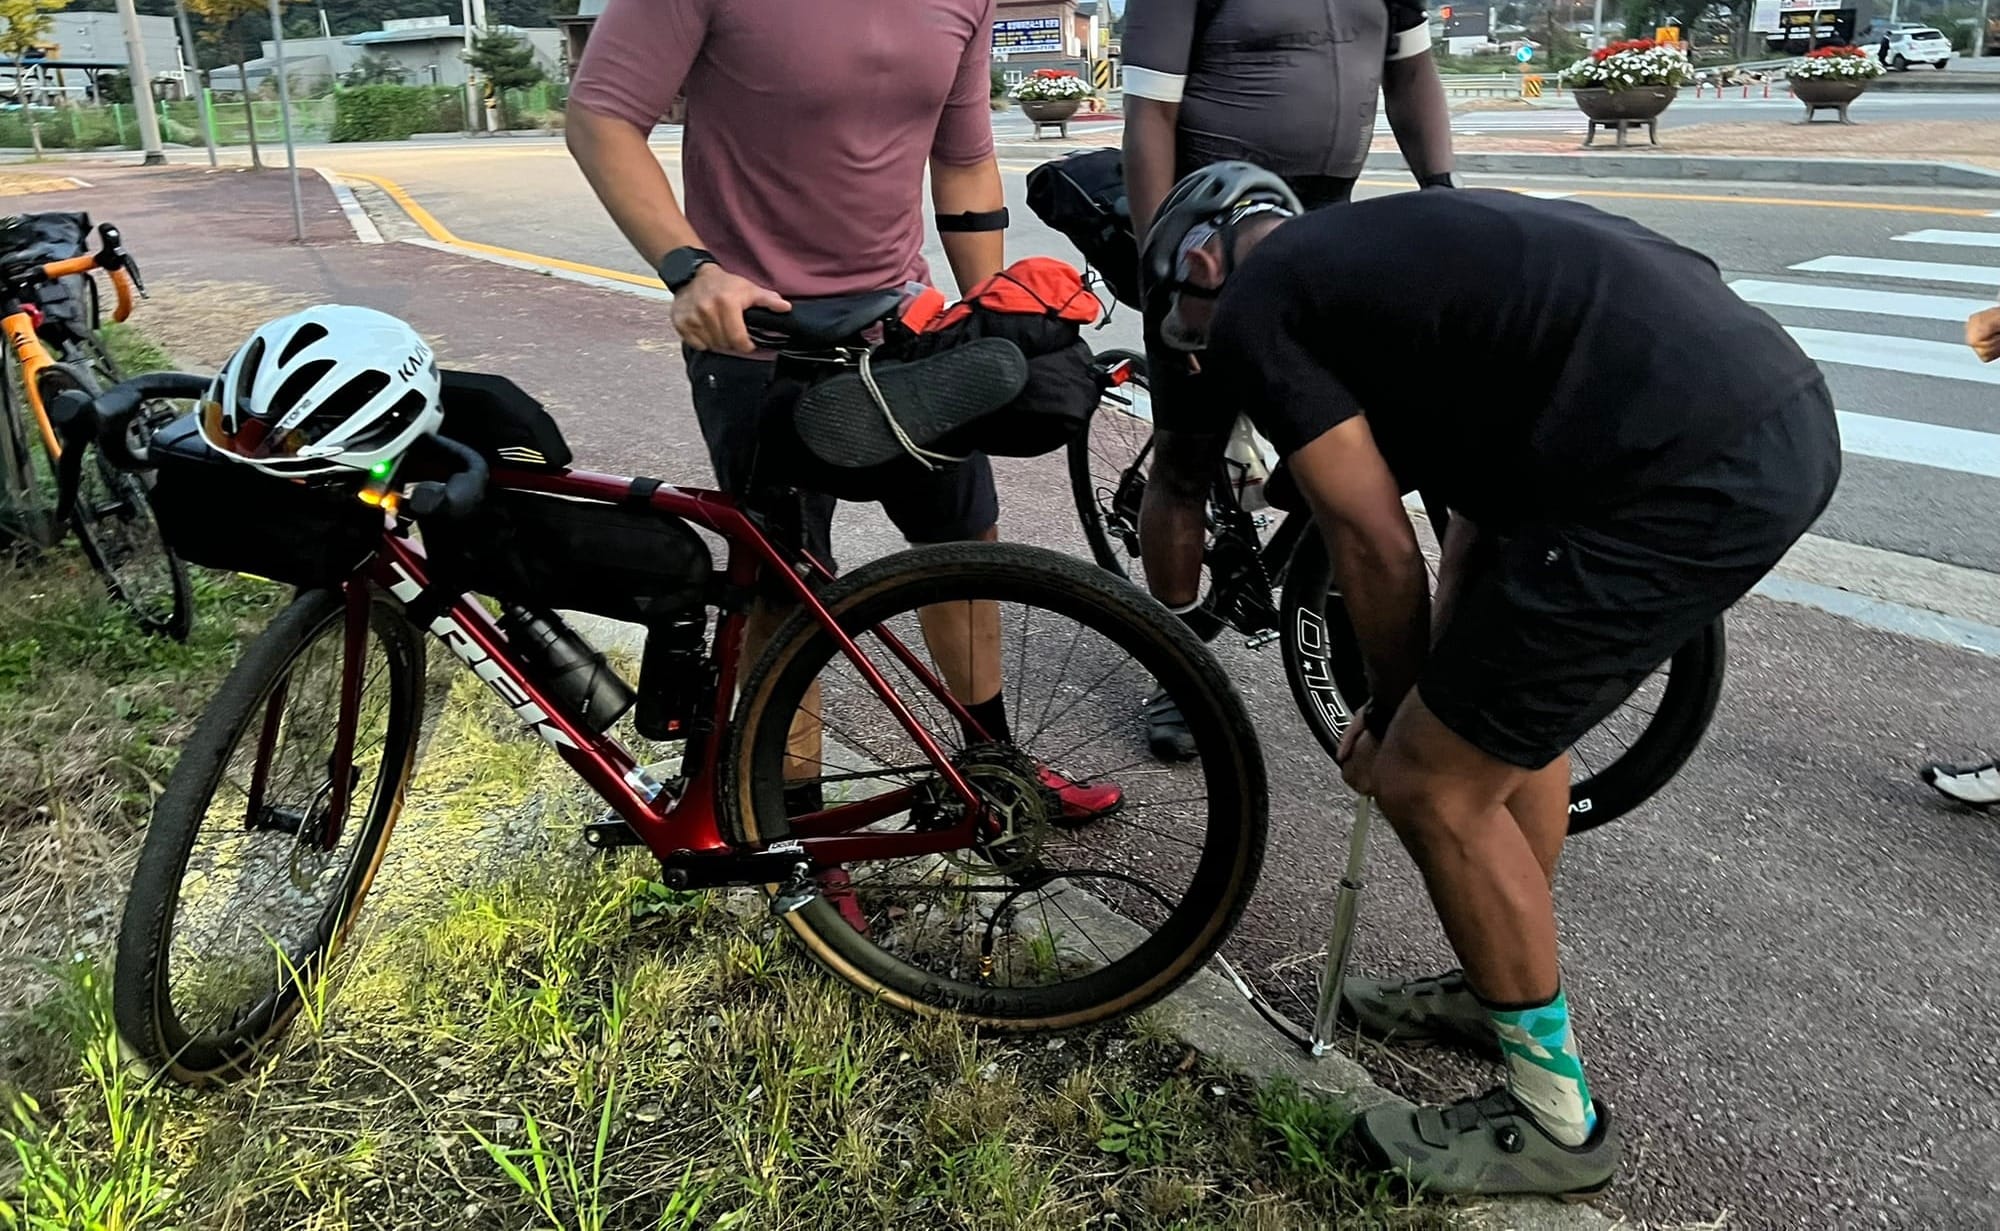
A note on tire repair:
Bring a simple portable multi-tool and a flat repair kit — spare tube, tire levers, and a way to inflate. But if you're running tubeless tires, do not use CO2 cartridges. CO2 comes out extremely cold. That cold gas instantly hardens and dries out the sealant inside your tire — the very sealant that's supposed to seal the puncture for you. A hole that the sealant could have fixed on its own becomes a full flat because the CO2 killed the sealant before it could do its job. Use a portable hand pump or a rechargeable electric mini-pump instead. They're a little slower, but they actually work with tubeless setups.
Better yet — swap your tires before you go.
If you can, switch to puncture-resistant touring tires before the trip. Not getting a flat over 633 km makes the entire experience smoother and more enjoyable. The most well-known option is the Schwalbe Marathon series. They're a bit heavier than standard tires — but they can reduce your chance of a flat by 90% or more. On a trip this long, that trade-off is worth it every time. Of course, the harder the journey, the more unforgettable the memory — but a flat on the Nakdong River path at 3 PM in 35°C heat is a memory you can skip :)
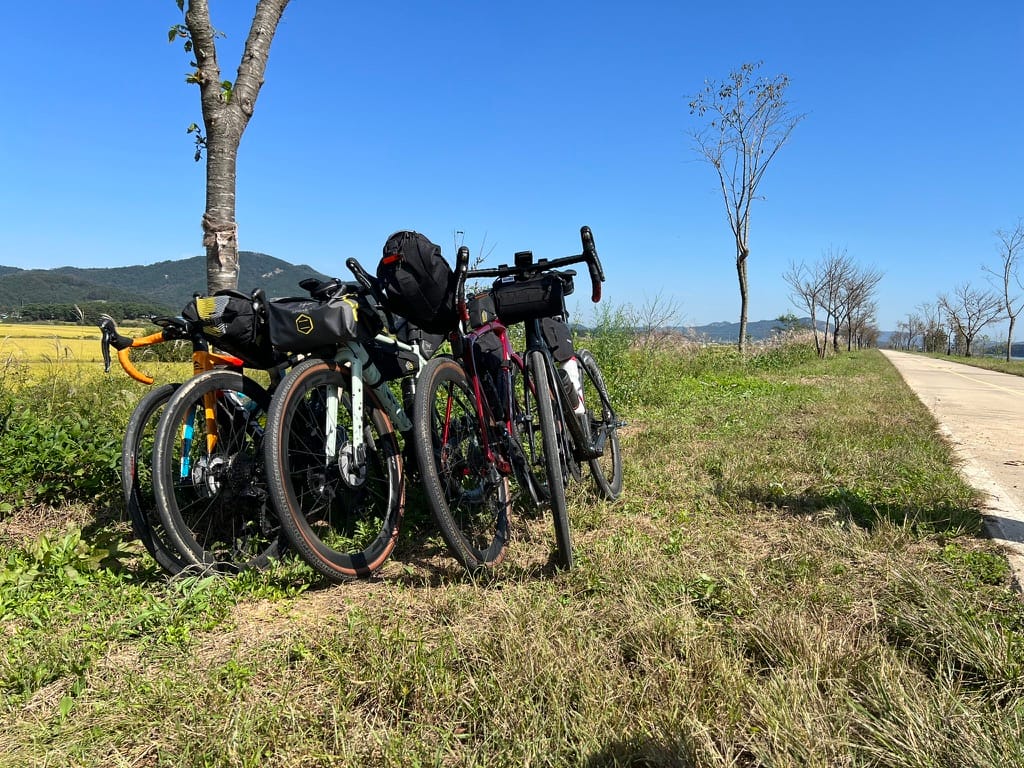
That's it. Everything fits in a saddlebag and a handlebar bag — or a small backpack if you prefer. You don't need panniers. You don't need a rack. Keep it simple and keep it light.
5. Knee Pain Is a Warning, Not Normal
Some riders treat knee pain as part of the experience. It's not. Knee pain during a multi-day ride almost always means one of two things:
- Your saddle is too low. When your saddle is low, your knees bend too much at the bottom of each pedal stroke. Multiply that by 50,000+ pedal strokes a day and you've got a problem. Raise your saddle until your leg is almost fully extended (slight bend) at the bottom.
- Your cadence is too low. Grinding big gears at 50–60 RPM puts massive load on your knees. Shift to an easier gear and spin at 80–90 RPM. It feels less "powerful" — but it saves your knees and actually uses less energy over a full day.
The rule: If your knees start hurting, stop. Adjust your saddle height. Shift to an easier gear. If it doesn't improve in 30 minutes, take a longer break. Pushing through knee pain on Day 2 can end your ride on Day 3.
Come in before your trip for a basic bike fit. It takes 15 minutes and can prevent days of pain.
6. Day 2 Is the Hardest Day — Plan It Around Ihwaryeong
Not because of the terrain — although Saejae Pass doesn't help. Day 2 is hardest because:
- Your body is sore from Day 1 but hasn't adapted yet
- The novelty has worn off — you know what 8 hours in the saddle feels like now
- The big climbs (Saejae and/or Ihwaryeong) often fall on Day 2
- You're far enough from the start that turning back feels silly, but far enough from the finish that Busan feels impossible
The key to Day 2: build your entire schedule around Ihwaryeong Pass.
Ihwaryeong is the highest point of the route and the hardest climb. Everything else on Day 2 is just getting to it and getting over it. Don't plan your day by distance or by city name — plan it by this one question: can I get over Ihwaryeong before it gets late?
If the answer is yes, push through. Clear the pass, descend to Mungyeong, and you've conquered the hardest part of the entire trip.
If the answer is no — if you're arriving at the base of the climb late in the afternoon, tired, with the sun already dropping — don't force it. Stop at Suanbo (수안보) instead. Suanbo is a hot spring town right before the climb begins. Find a motel, soak in the hot springs, get a proper night's rest, and start fresh the next morning. Hit Ihwaryeong at dawn when your legs are rested and the air is cool. You'll climb it twice as fast as you would have the evening before.
This turns your 5-day trip into a 6-day trip. That's fine. A flexible schedule beats a miserable one.
What happens when you push through too late:
I learned this the hard way. I crossed Ihwaryeong late in the day and arrived in Mungyeong after dark — during autumn foliage season. Every motel was full. Every single one. I ended up riding all the way to Sangju to find a room. After already climbing two mountain passes. On Day 2. Don't be me.
How to survive Day 2:
- Plan around Ihwaryeong, not around a city. The pass is the day's centerpiece. Everything else adjusts around it.
- Be honest about your pace by early afternoon. If you're still far from the climb at 2–3 PM, Suanbo is the smart call.
- Accept that it will be slow. Your average speed will drop. That's normal, not failure.
- Break the day into small segments. Don't think "118 km to Mungyeong." Think "next stamp station." Get there. Stamp your passport. Eat something. Repeat.
- If you stop at Suanbo, use the hot springs. They cost almost nothing and they'll do more for your legs than any amount of stretching.
- Remember: once you're over Ihwaryeong, the hardest part of the entire trip is behind you. The terrain after Saejae flattens out. Day 3 is easier. You'll feel better than you expect.
7. Convenience Stores Are Checkpoints, Not Just Stores
Stop at every convenience store you see — even if you don't need anything right now. Especially south of Gumi.
Here's why: the gap between stores in rural sections can be 30–50 km. If you skip one because you still have half a water bottle, you might not see another one for two hours. And two hours in 35°C heat with no water is a bad situation.
The rule: Every convenience store, top off water. Every convenience store, grab a small snack — even if you're not hungry yet. You're not eating for now; you're eating for 40 km from now.
8. Take the Photos
This sounds like obvious advice. It's not — because when you're tired and just want to reach the next town, stopping to take a photo feels like wasting time.
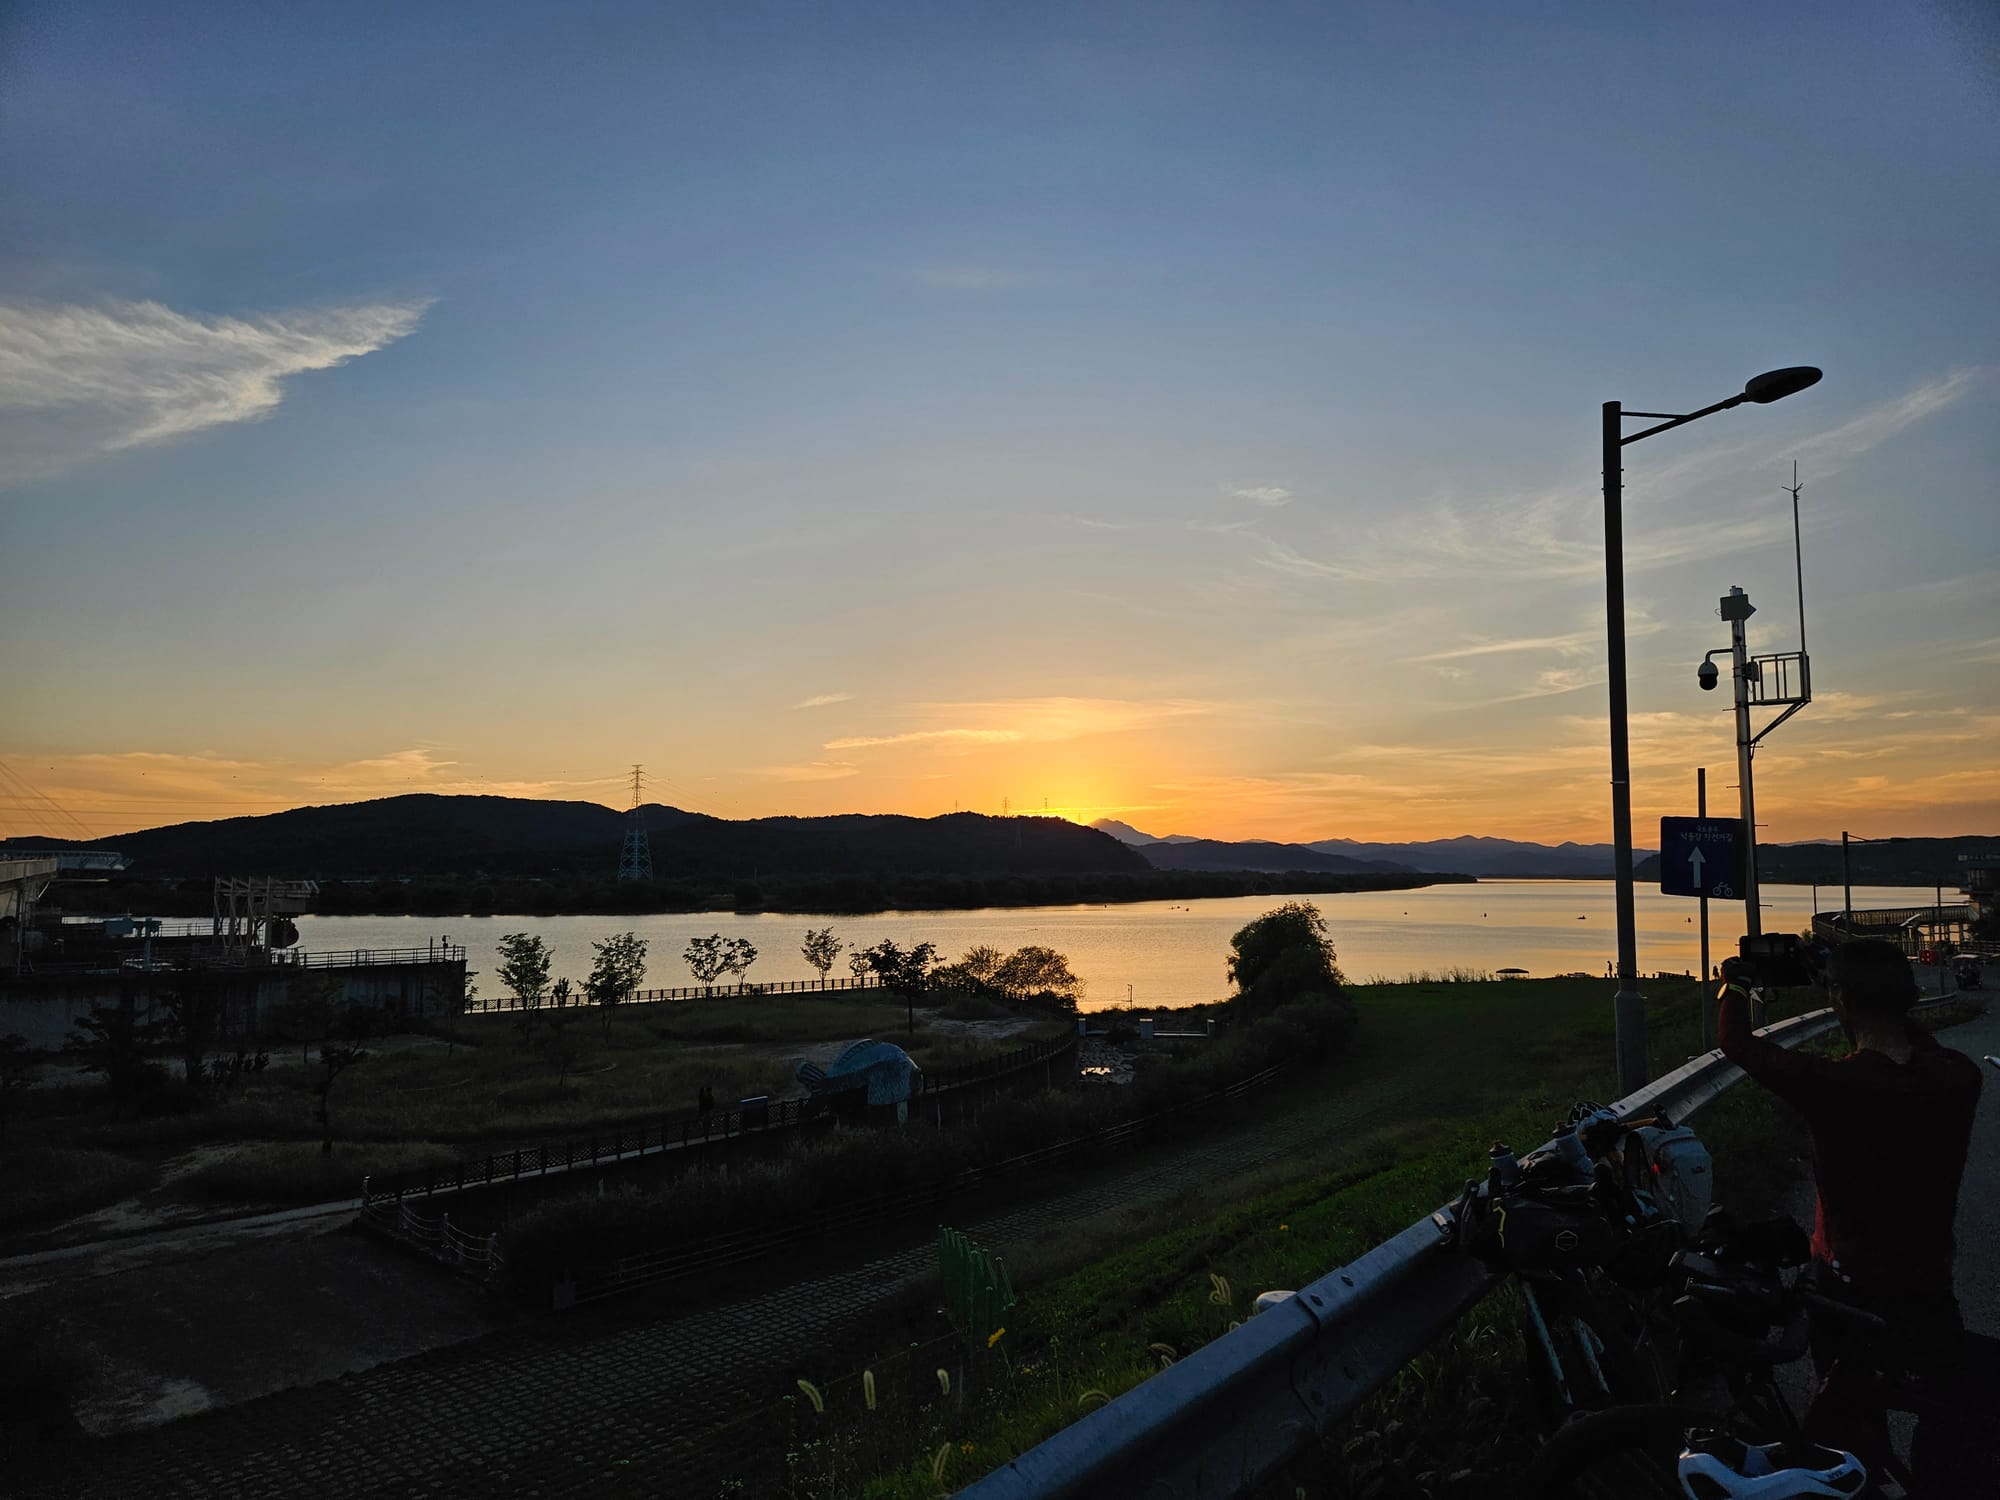
You will not remember your average speed. You will not remember your exact time for each stage. You will remember the photo of you at the top of Saejae Pass, the sunset over the Nakdong River, and the finish line at the estuary.
Photo tip: Take a photo at every certification center with your bike and your passport. At the end, you'll have a visual record of the entire route — 29 stamps, 29 photos, Incheon to Busan.
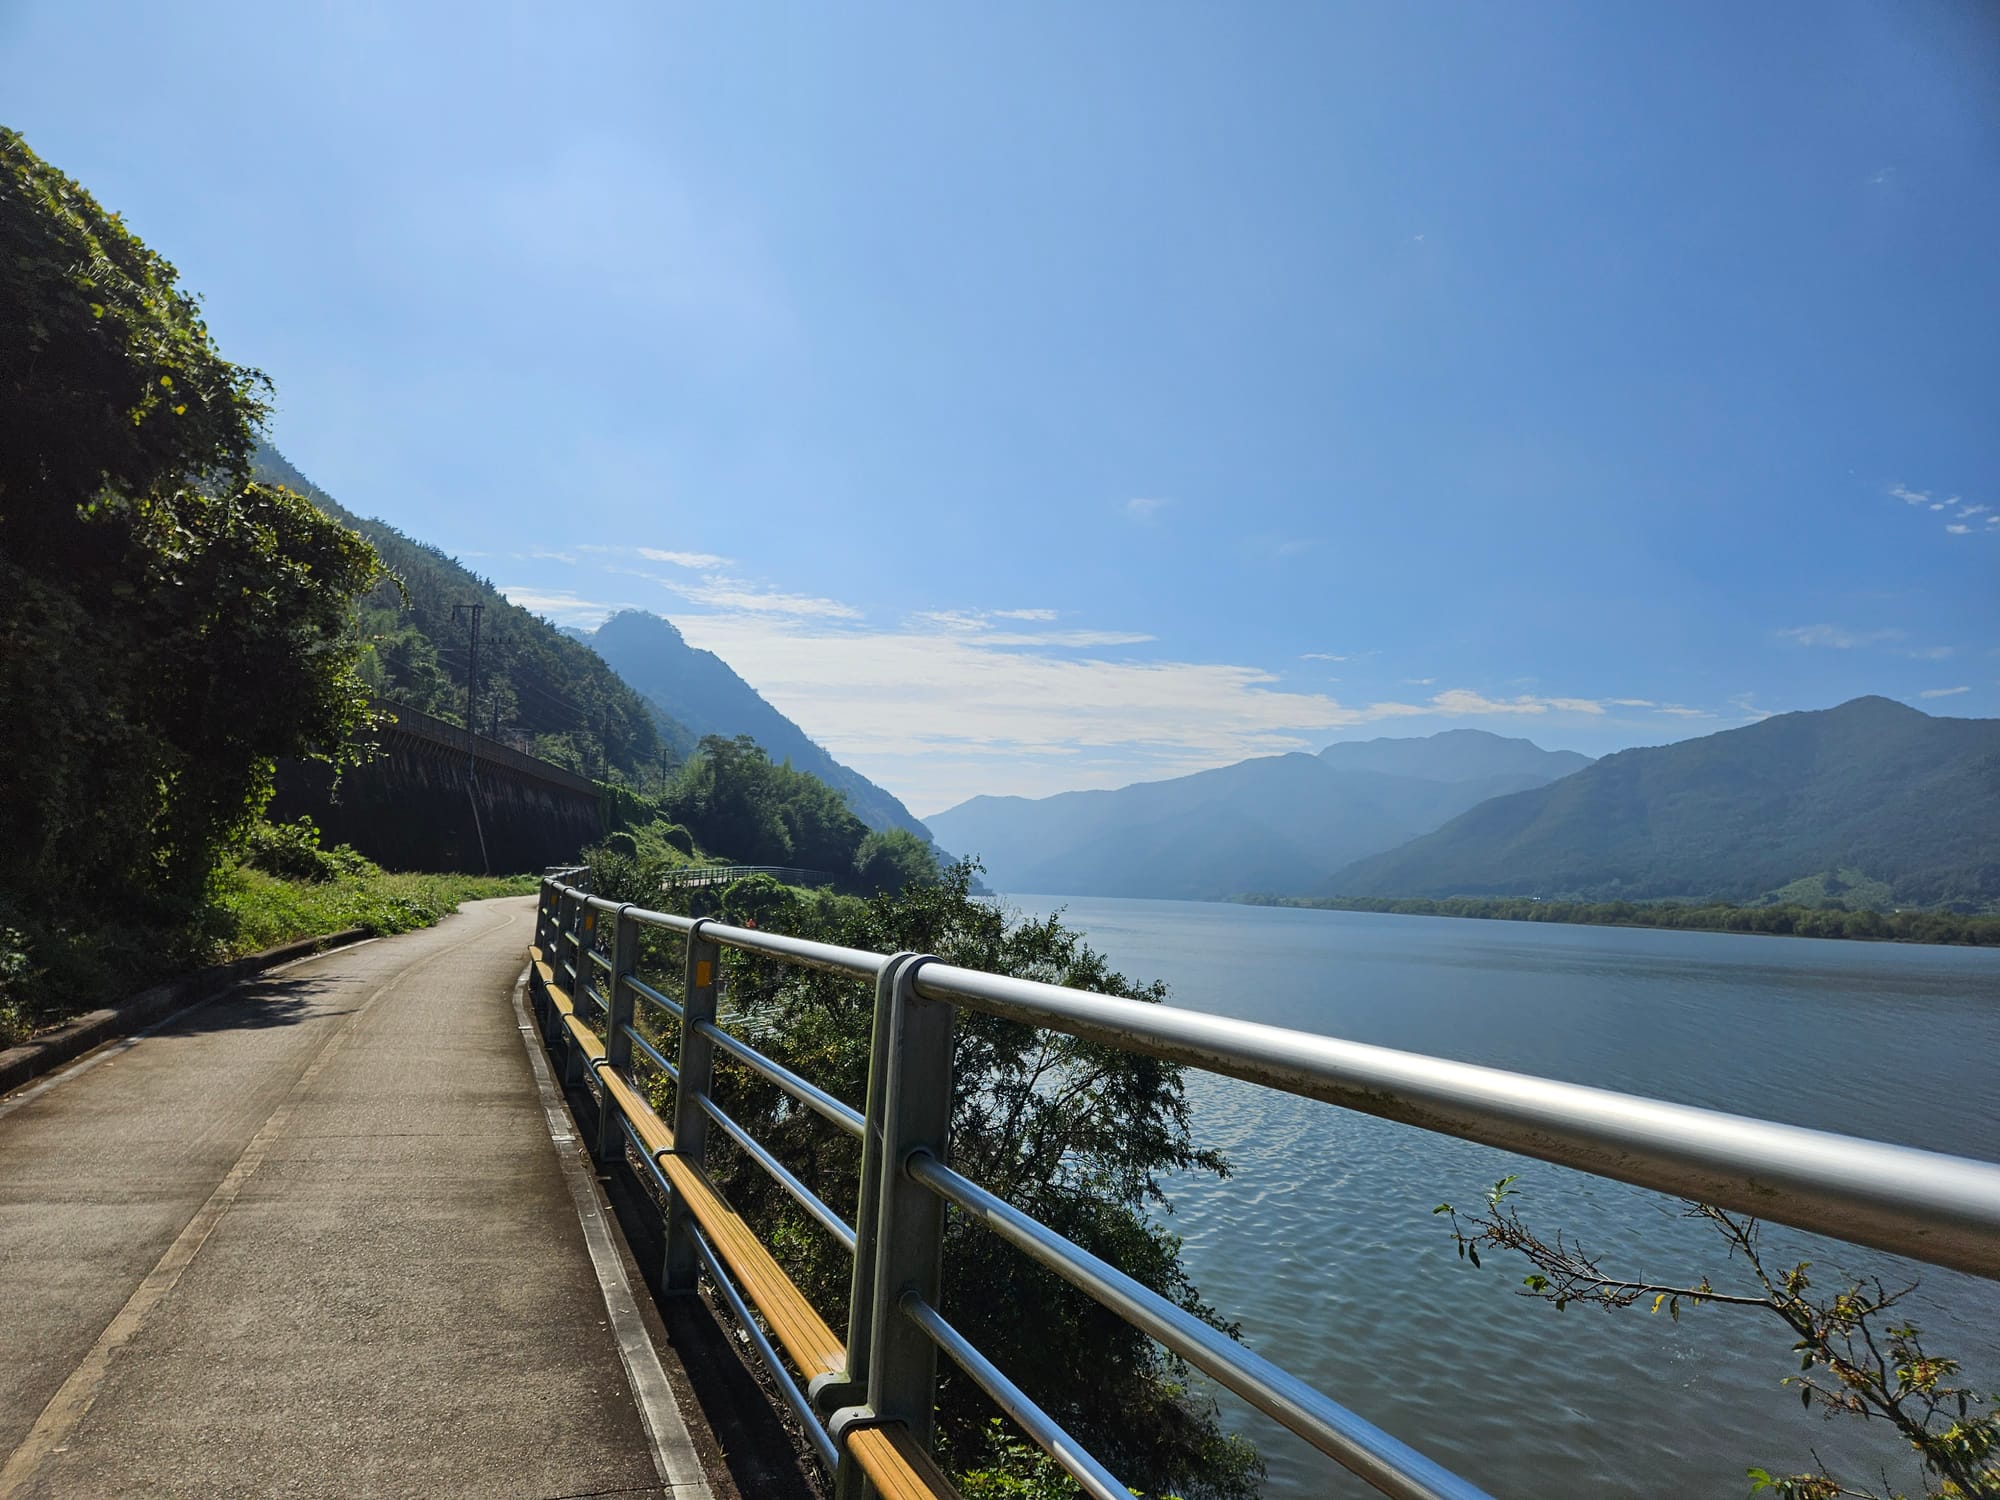
9. The Nakdong River Section Is Mentally Tough
Physically, it's flat. That should make it easy. It doesn't.
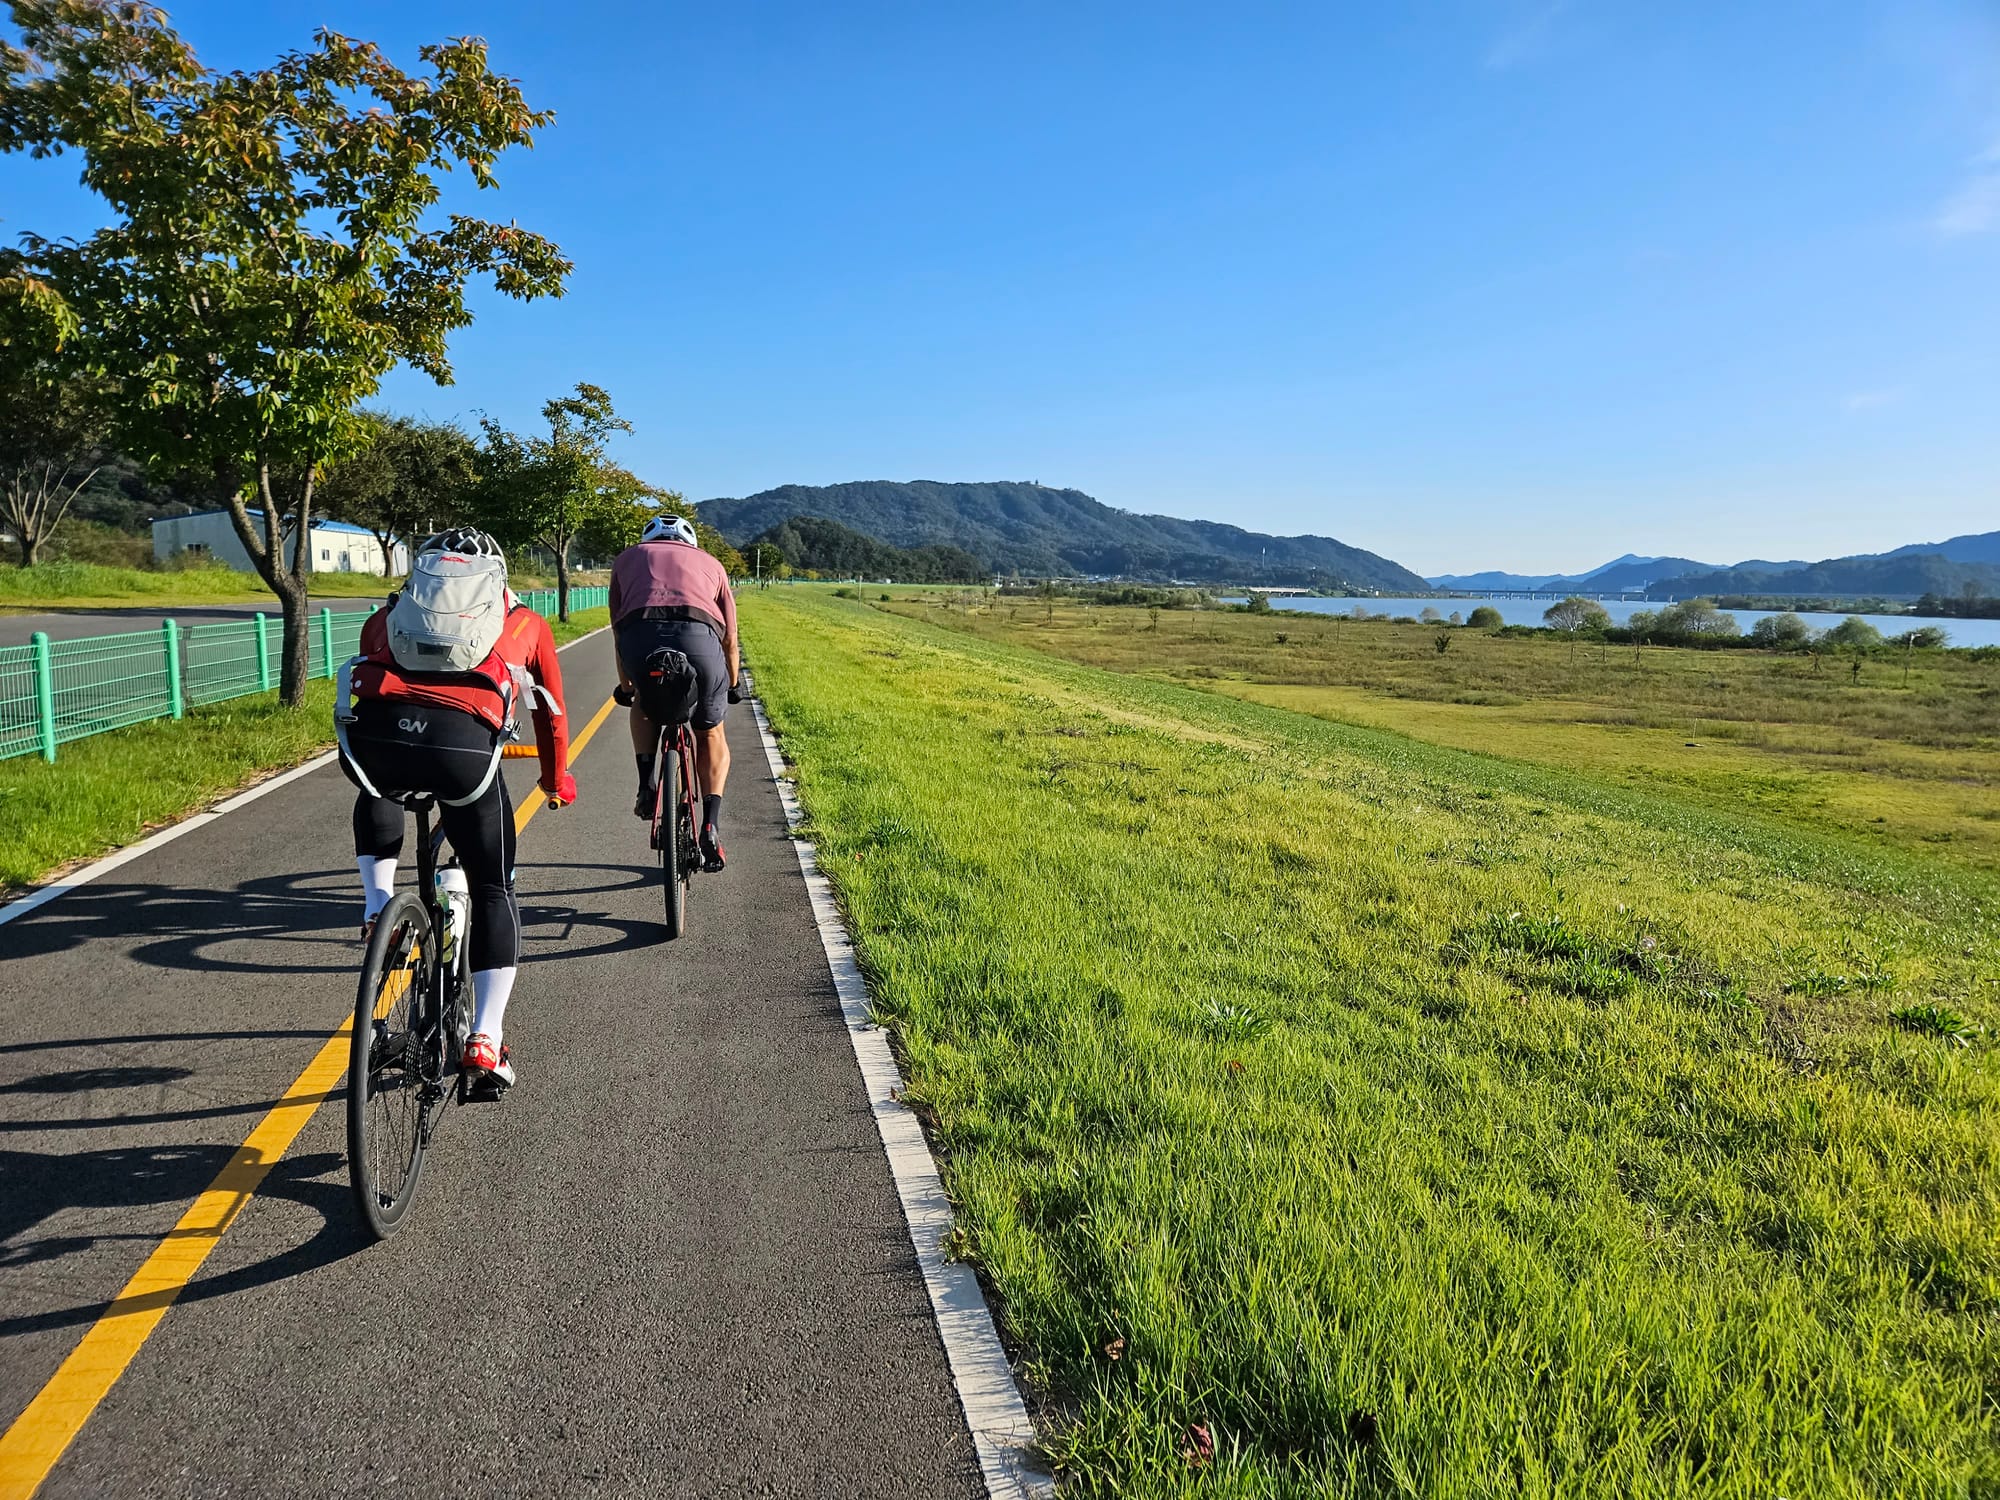
The Nakdong River path from Gumi to Busan is 300+ km of river path. It's beautiful for the first 50 km. After that, the scenery doesn't change much. River on one side, fields on the other. Long, straight sections where you can see the path stretching ahead for kilometers with no end in sight.
This is where riders mentally check out. The excitement of the mountains is behind you. Busan is still far away. The riding isn't hard — but it's monotonous, and monotony is exhausting in its own way.
What helps:
- Music or podcasts. This is the section where earbuds earn their place. Keep one ear open for safety, but having something to listen to breaks the monotony.
- Set micro-goals. "I'll ride to the next bridge." "I'll ride to the next weir." Don't think about the 150 km left to Busan.
- Ride with someone if you can. Conversation makes flat kilometers disappear. If you're solo, chat with other riders at rest stops — you'll probably see the same people day after day.
10. You Don't Need to Be a Cyclist
The cross-country route is completed every year by people who barely ride. Office workers on cheap hybrid bikes. Families with kids. Retirees. Soldiers who haven't been on a bike since middle school.
You don't need a carbon road bike. You don't need 10,000 km of training. You don't need to know what your FTP is.
You need a bike that works, a basic level of fitness (can you ride for 3–4 hours?), and the willingness to be uncomfortable for a few days. That's the actual entry requirement.
If you're reading this series and thinking "maybe I'm not ready" — you're probably more ready than you think. The route is designed to be accessible. The hardest part isn't the riding. It's deciding to go.
The Quick Summary
- Saddle comfort — Padded shorts + chamois cream + correct saddle height
- Pace yourself — Conversational speed, especially Day 1
- Respect the wind — Check forecasts, start early, adjust plans
- Pack light — One cycling outfit, 2–3 socks, rain jacket, repair kit, ₩200k cash. No CO2 on tubeless.
- Protect your knees — Saddle height + high cadence + stop if it hurts
- Day 2 = Ihwaryeong — Plan around the pass, not the city. Late arrival? Stop at Suanbo, climb fresh at dawn.
- Stop at every convenience store — Water and snacks, even when you don't feel like it
- Take photos — You'll thank yourself later
- Nakdong = mental game — Music, micro-goals, company
- Just go — You don't need to be ready. You need to start.
The Full Series
- What Is the Cross-Country Route?
- Planning Your Ride: Days, Budget & Gear
- The Bike Passport: Korea's Stamp Rally System
- Stage-by-Stage Breakdown
- Where to Sleep & Eat Along the Way
- Navigation & Apps
- What I Wish I Knew Before My First Cross-Country ← You are here
That's everything. Seven posts. If you've read through all of them, you know more about this route than most people who've actually ridden it. The only thing left is to do it.
Planning your cross-country ride? Come in. We'll check your bike, dial in your fit, set up your Komoot, and go over the route with you. We've sent hundreds of riders down this path — we know what works.
Platoon Cycles
📍 157, Pyeongseongdaegyo-gil, Paengseong-eup, Pyeongtaek-si
📞 070-8845-7351
🌐 www.platooncycles.com

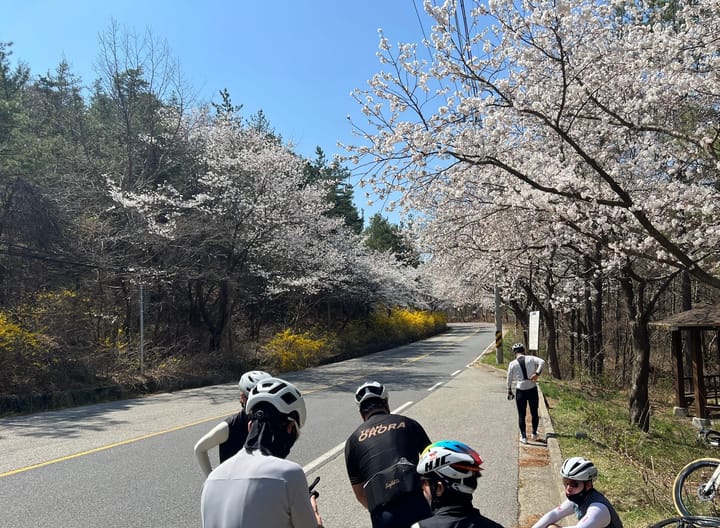
![Navigation & Apps [Cross-Country Series #6]](/content/images/size/w720/2026/03/20231004_101950-1.jpg)
Comments ()