Navigation & Apps [Cross-Country Series #6]
![Navigation & Apps [Cross-Country Series #6]](/content/images/size/w1200/2026/03/20231004_101950-1.jpg)
In Part 4, we walked through each stage of the route. In Part 5, we covered where to sleep and eat. This post is about not getting lost — and what to put on your phone (and handlebars) before you roll out of Incheon.
The cross-country route is well-marked. But "well-marked" and "impossible to miss" are two different things. You will miss a turn at some point. Everyone does. The question is how fast you catch it and get back on track.
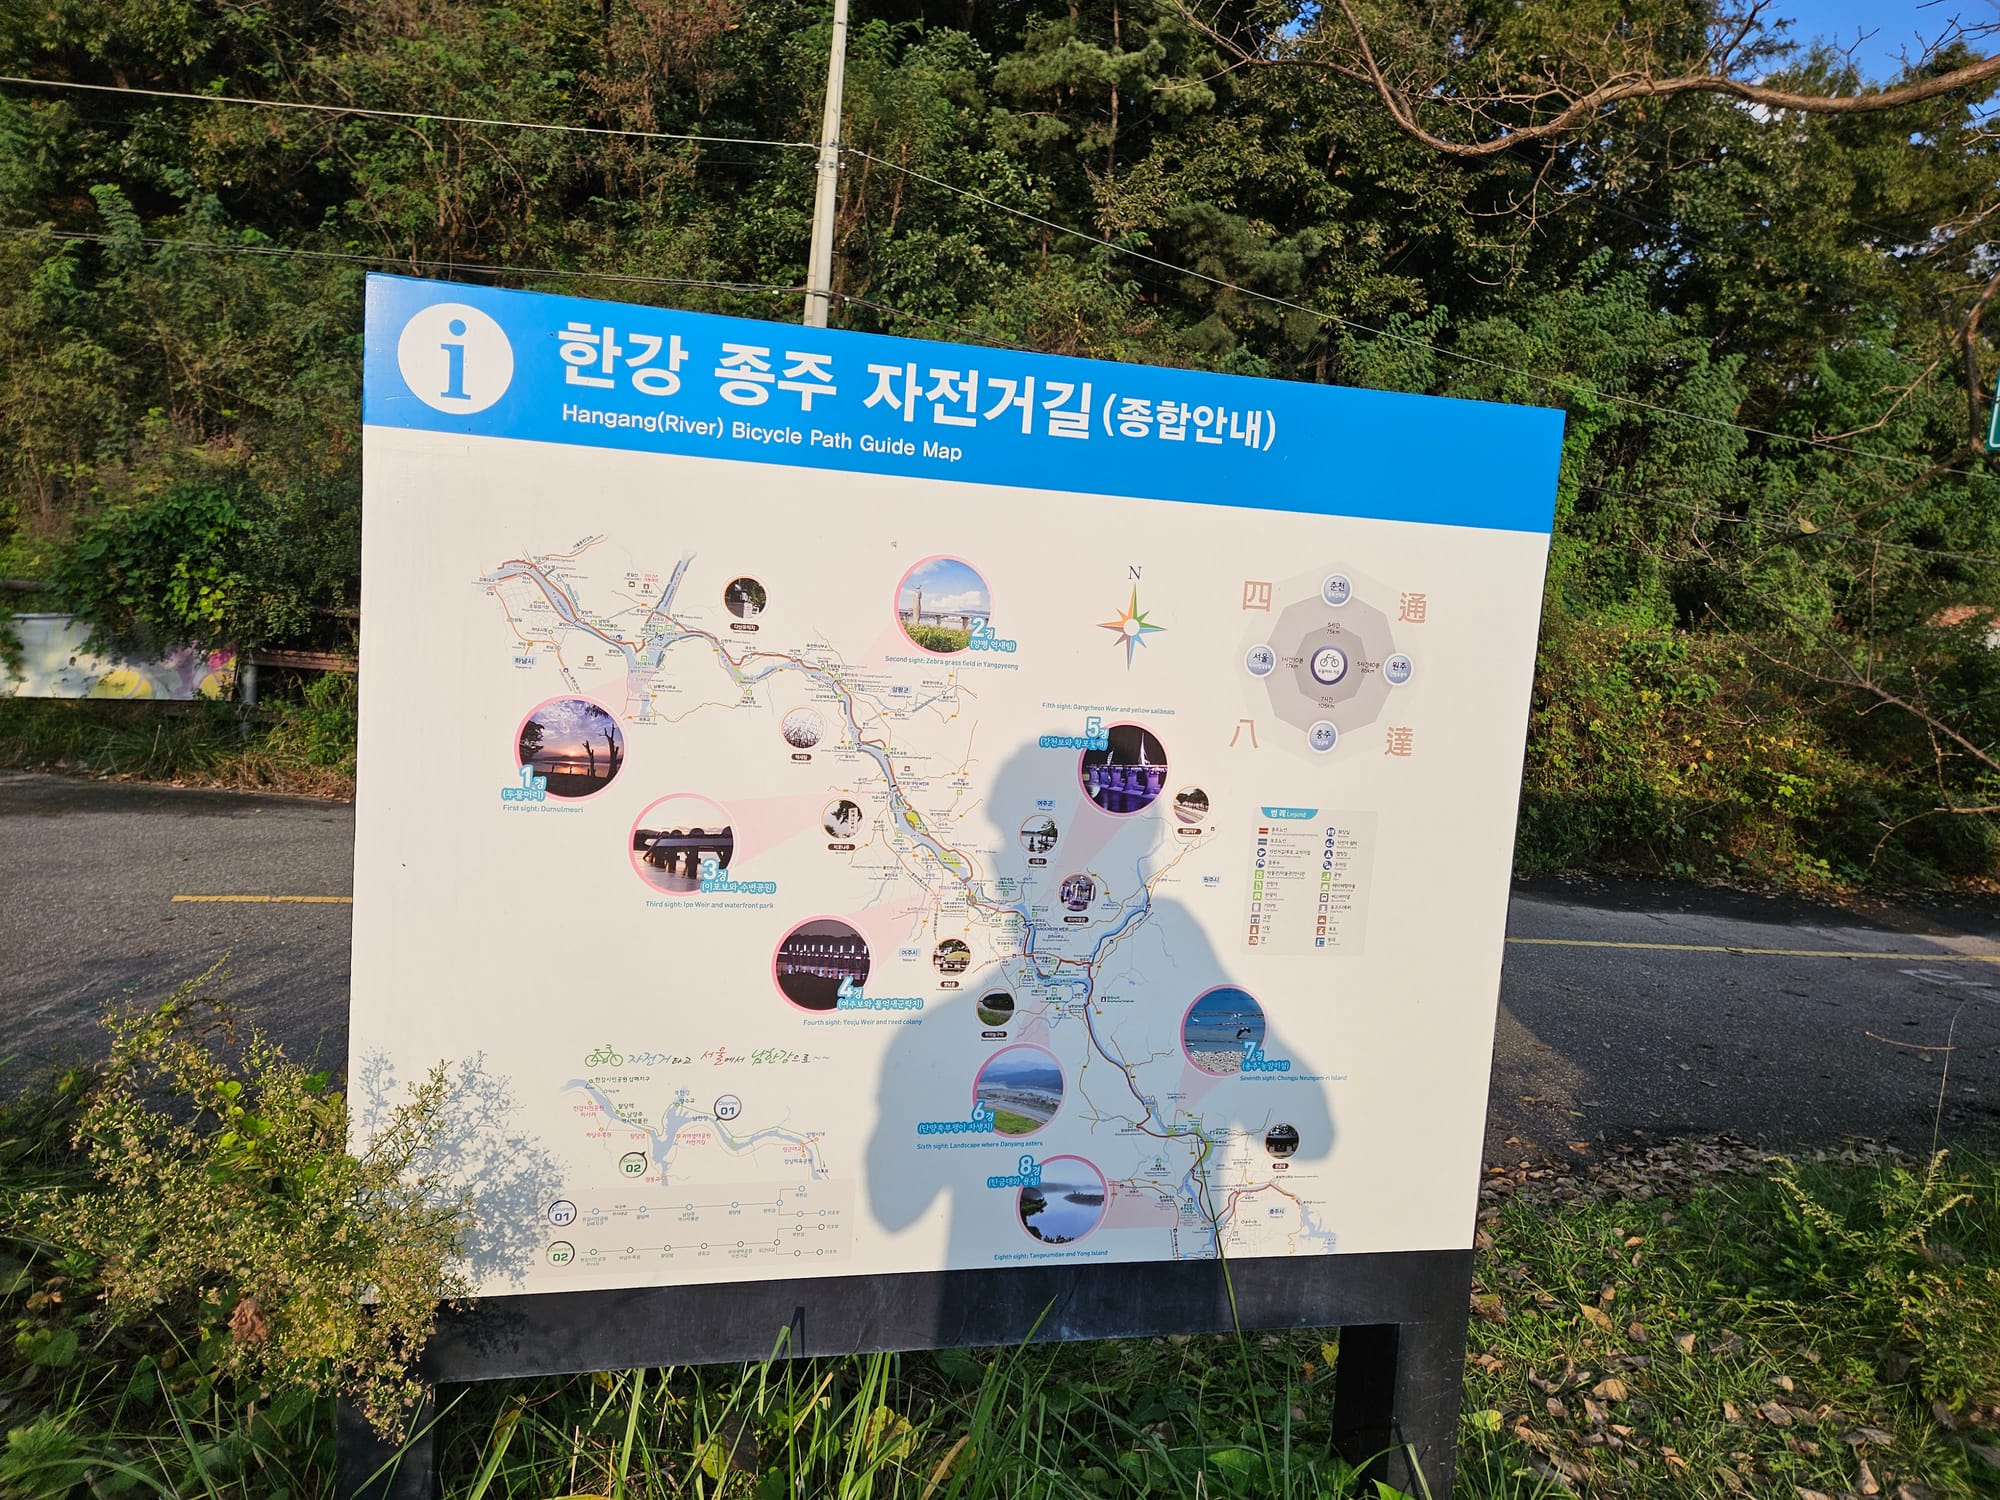
The Route Markers (경로 표지판)
Before we talk about apps, you should know: the route has physical signs. Red lines painted on the ground, blue directional signs, and numbered distance markers. Most of the time, you can ride the entire route just by following these.
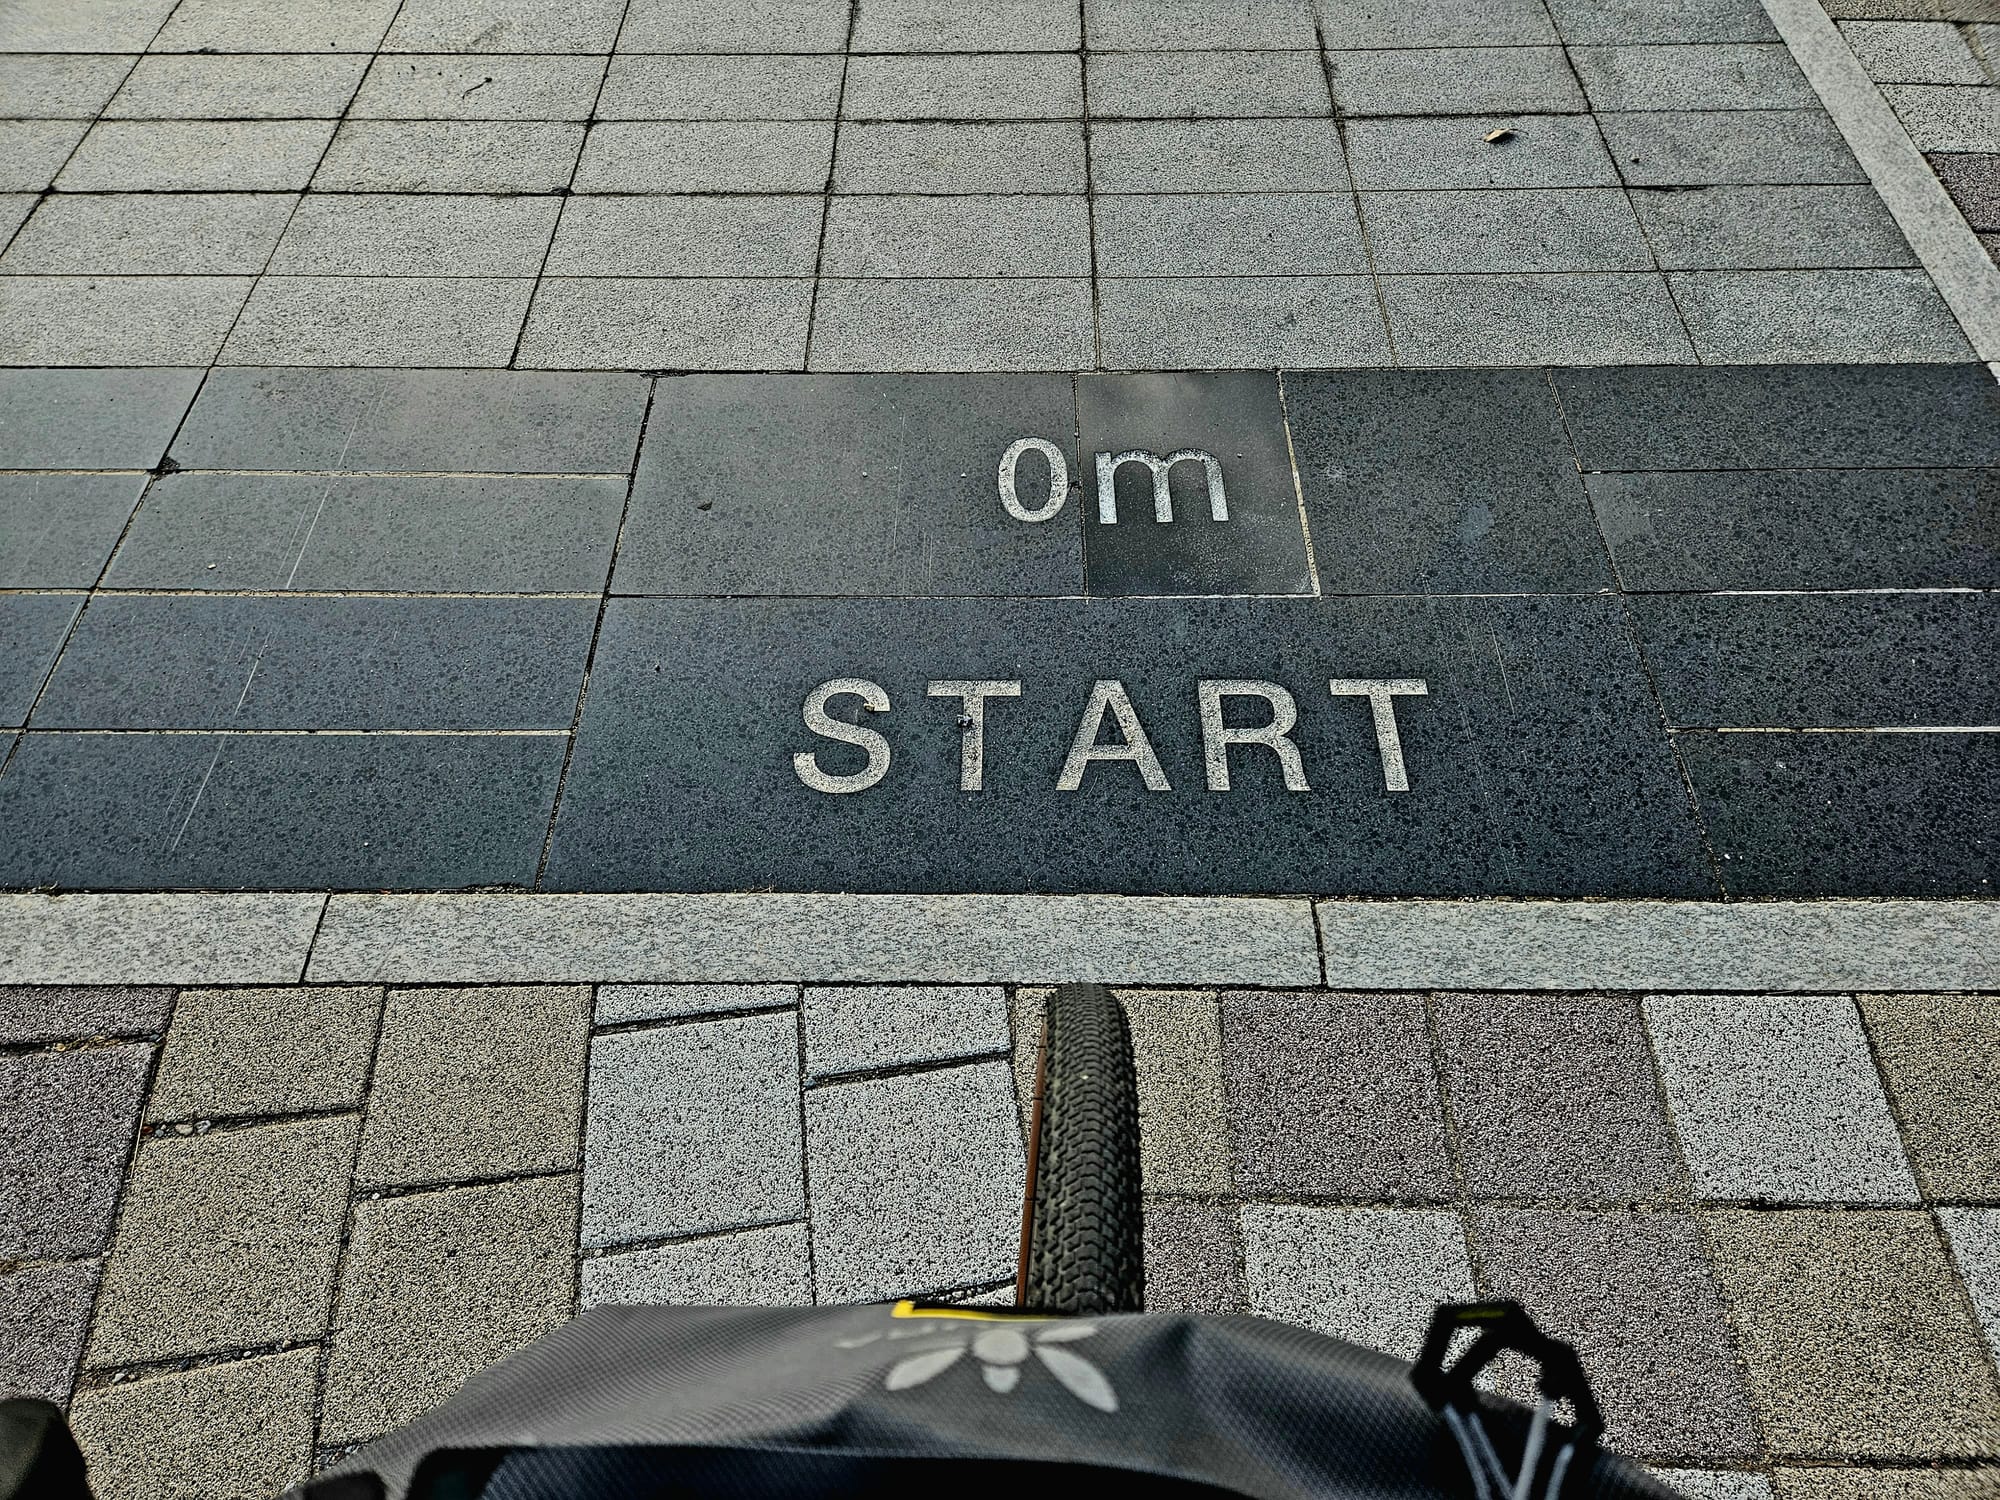
What the signs look like:
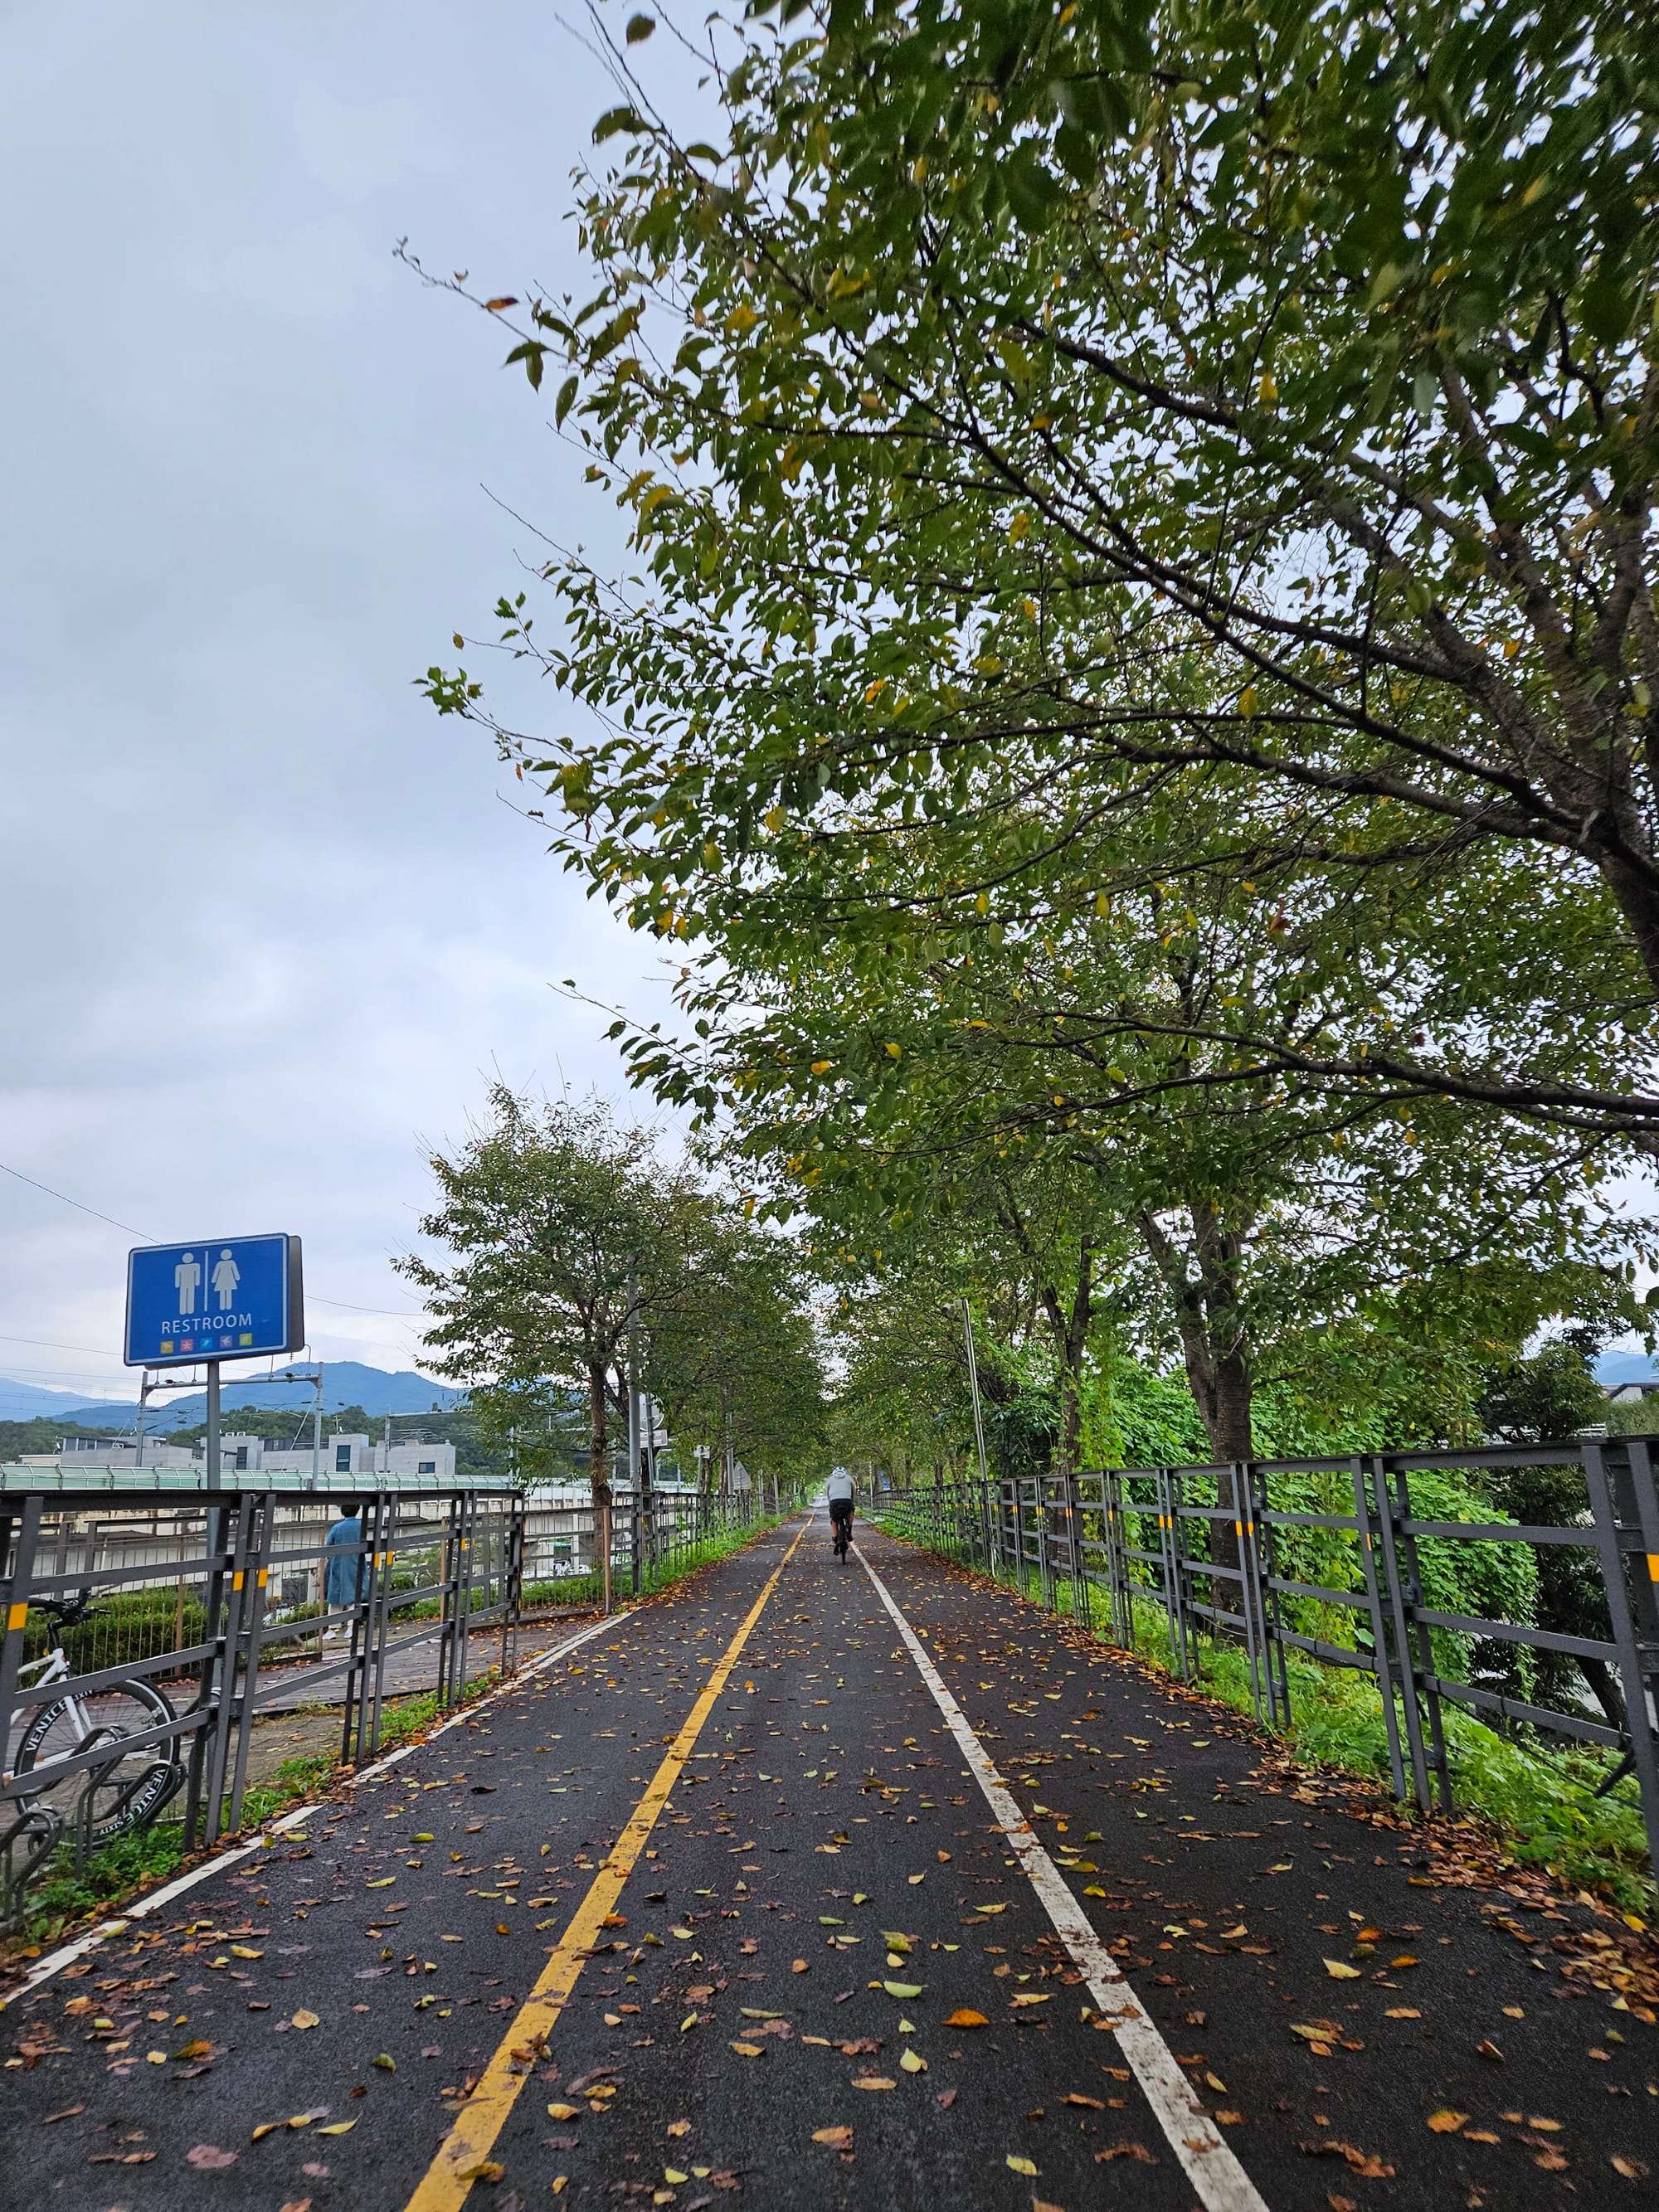
- Blue lines on the pavement — These are your primary guide. A blue line on the ground means you're on the official cycling path. When the line disappears, pay attention.
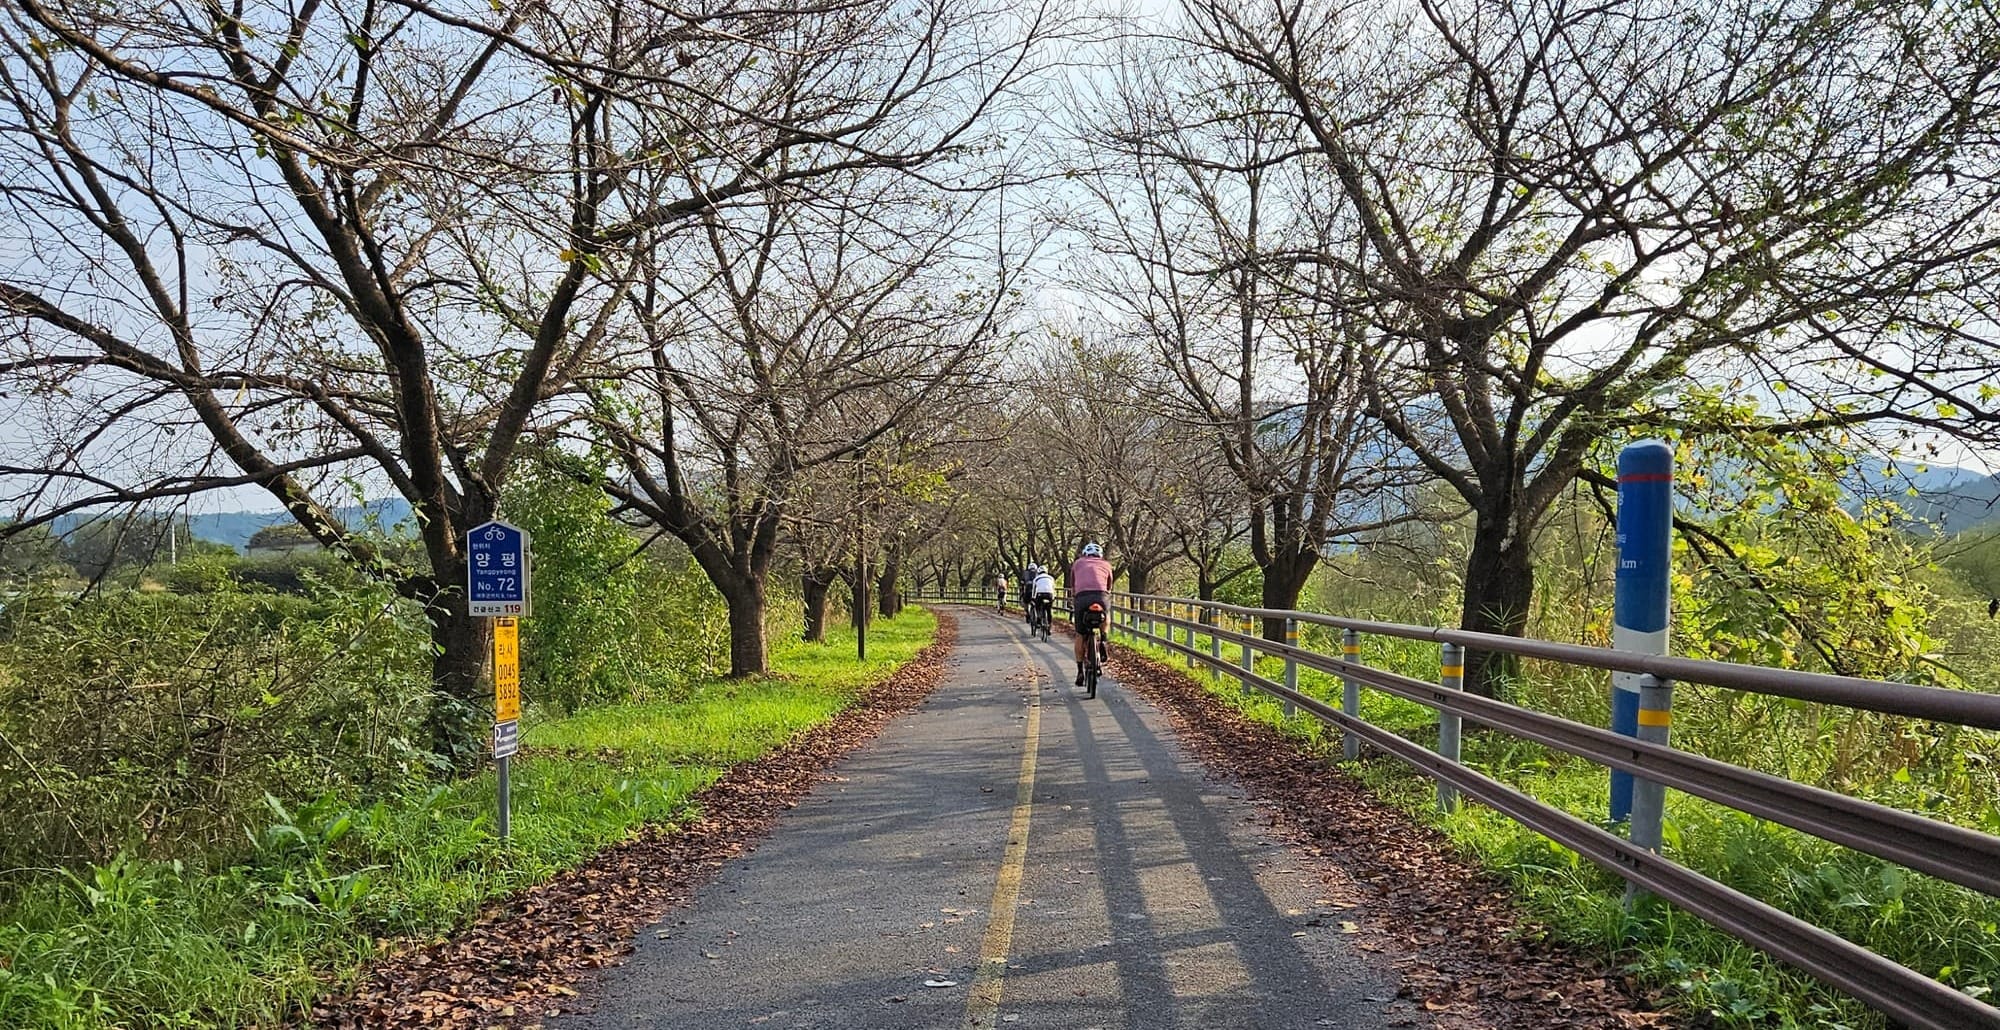
- Blue directional signs (이정표) — Posted at intersections. They show distances to the next city, the next certification center, and sometimes the next rest area. Text is in Korean and English.
- Distance markers — Small posts every few kilometers showing your distance from the start/end. Useful for tracking progress, not for navigation.

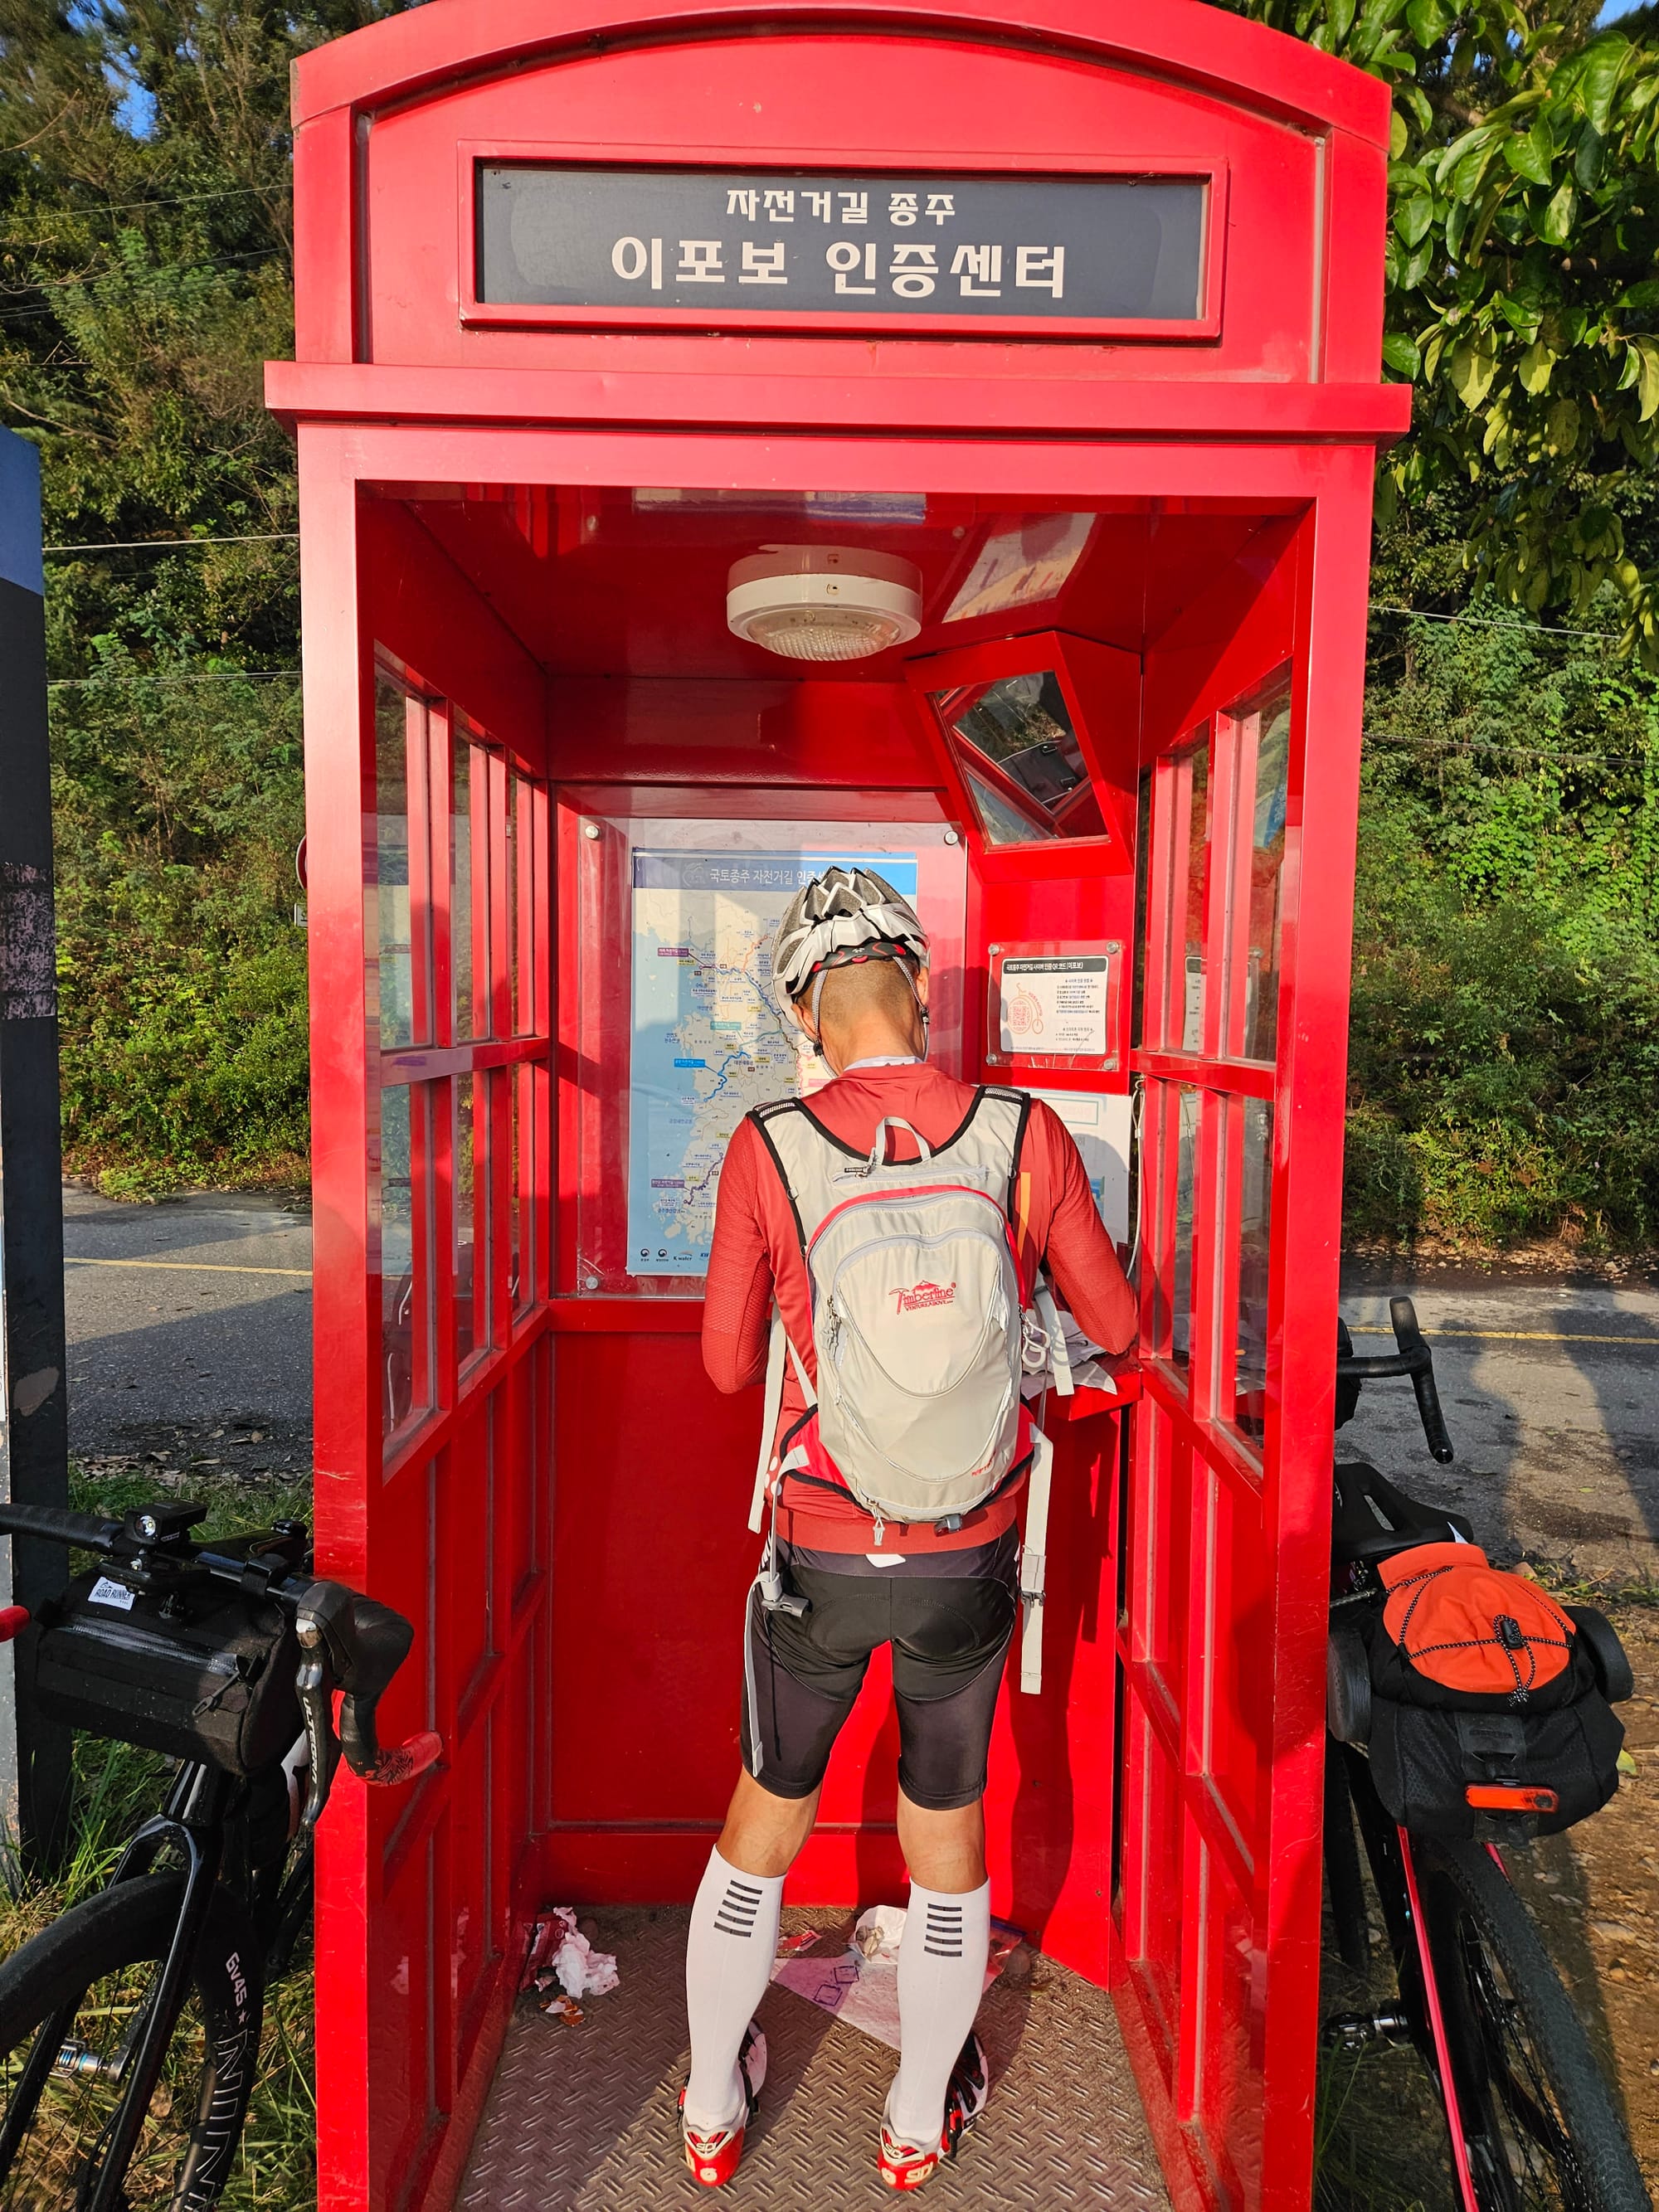
- Certification center signs (인증센터) — Brown signs with a bike icon pointing you toward stamp stations.
When the signs fail:
They don't fail often — but when they do, it's always at the same kind of spot:
- Road construction that reroutes you onto a detour with no cycling signs
- Urban sections where bike path markings blend into city sidewalks
- Bridge crossings where you need to switch sides of the river
- The Saejae Pass descent — fast enough that you can blow past a turn before you notice
This is where your phone and GPS come in.
The Phone Setup (핸드폰 세팅)
You need three things on your phone before departure:
1. Komoot — Your Primary Navigation (주 내비게이션)
Komoot is the best option for following the cross-country route. It has cycling-specific routing, turn-by-turn navigation, and — most importantly — it works with downloaded offline maps, so you're not dependent on cell service in the mountains.
Before your trip:
- Download Komoot (free, iOS/Android)
- Download the offline map for South Korea (or at minimum, the regions you'll ride through)
- Search for "국토종주" or "Cross-Country Cycling Route Korea" in Komoot's route discovery — other riders have uploaded the full route. Pick one with good reviews and a recent upload date.
- Save the route to your profile. You can also import a GPX file directly if you have one (more on GPX below).
During the ride:
- Start the route in Komoot and follow the turn-by-turn directions
- Komoot will give you audio cues through your earbuds — "Turn left in 200 meters" — so you don't have to stare at your screen
- If you miss a turn, Komoot recalculates automatically
- The offline maps mean it still works in dead zones (and there are dead zones on Saejae Pass and parts of the Nakdong River path)
Komoot tips:
- Plan your daily segments. The full 633 km route is one long line. Break it into daily segments (Day 1: Incheon → Yeoju, Day 2: Yeoju → Mungyeong, etc.) so the navigation is manageable and your ETA is useful.
- Check the route against reality. Komoot routes uploaded by other users aren't always current. Construction detours and path changes happen. If Komoot tells you to go somewhere that looks wrong, trust the physical signs on the ground first.
- Battery drain is real. Active navigation with screen on will drain your phone fast. Use audio turn-by-turn with the screen off, and check the screen only at intersections.

2. Naver Map (네이버 지도) — For Everything Else
Naver Map isn't for following the cycling route — Komoot handles that. Naver Map is for everything around the route: finding motels, restaurants, convenience stores, bike shops, and train stations.
Why Naver, not Google Maps?
Korea's mapping data is restricted by law. Google Maps has inaccurate roads, missing buildings, and no transit directions. Naver Map is accurate. This isn't a preference — it's a practical necessity.
What you'll use it for:
- Searching "모텔" or "편의점" to find the nearest motel or convenience store
- Getting walking/cycling directions from the bike path to a nearby town
- Checking restaurant hours and reviews
- Finding the nearest train station for emergencies (KTX, SRT, or local)
Setup:
- Download Naver Map (free, iOS/Android)
- The interface has an English mode — tap the settings gear and switch the language. It's not perfect (some business names stay in Korean), but it's usable.
- Download the offline map if you want — though Naver's offline support is limited compared to Komoot
Naver Map Download - IOS
https://apps.apple.com/kr/app/네이버-naver/id393499958
3. Papago (파파고) — Translation
Covered in Part 5, but worth repeating: Papago is Naver's translation app. It's better than Google Translate for Korean, especially for food menus and spoken phrases. Download the offline Korean language pack before you leave.
GPX Files (GPX 파일)
A GPX file is a digital breadcrumb trail of the route — a series of GPS coordinates that draws the path on your map. It's the most reliable way to follow the cross-country route because it doesn't depend on anyone's routing algorithm. Someone rode the route, recorded it, and you follow that exact line.
Where to get a GPX file:
- Komoot route discovery — Search for cross-country routes uploaded by other riders. You can follow these directly in Komoot or export the GPX.
- 자전거행복나눔 (bike.go.kr) — The official Korean cycling portal has GPX files for all four rivers routes. The site is in Korean, but the download section is findable with Papago or browser translation.
- Cycling forums and blogs — Search "국토종주 GPX" and you'll find downloadable files. Use recent ones (2024 or newer) to account for path changes.
How to use a GPX file:
- Download the GPX file to your phone
- Import it into Komoot: open the app → Profile → Tours → Import (the "+" icon) → select the GPX file
- The route appears on your map as a line to follow
- Start navigation and ride
On a Wahoo GPS computer (details below): you can load GPX files directly via the Wahoo companion app. The route shows as a line on your Wahoo screen — no phone needed.
GPS Cycling Computers (GPS 자전거 컴퓨터)
Your phone works fine for navigation. But if you ride regularly — or if you want to keep your phone battery alive for photos and emergencies — a dedicated GPS cycling computer is worth having.
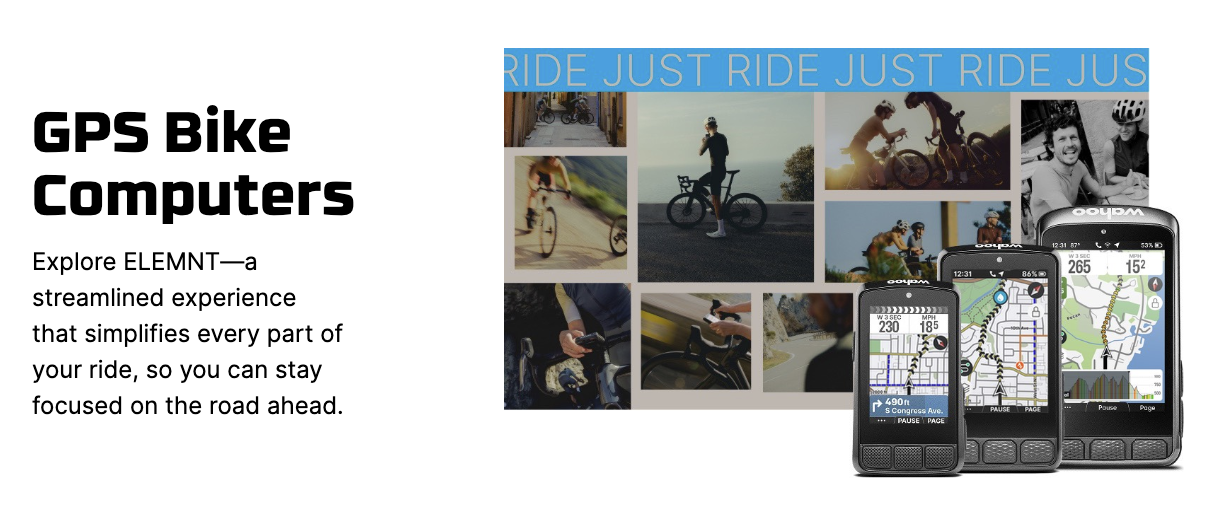
Wahoo ELEMNT Series (와후 엘리먼트)
Wahoo's ELEMNT computers (BOLT, ROAM, or ACE) are the easiest to set up and use. The key advantage: everything syncs through the Wahoo companion app on your phone, so you configure routes and settings on your phone screen instead of fiddling with tiny buttons.
For the cross-country route:
- Plan or import your route in Komoot
- Connect Komoot to the Wahoo app (one-time setup in the Wahoo companion app → Connected Apps → Komoot)
- Sync the route — it appears on your Wahoo automatically
- Start the route on your Wahoo. The screen shows a map with your route line, turn-by-turn arrows, distance to next turn, and elevation profile.
What the Wahoo gives you that your phone doesn't:
- Always-on screen — No battery drain from keeping the screen lit. The Wahoo BOLT lasts 15+ hours on a single charge. That's two full riding days without charging.
- Readable in sunlight — Phone screens wash out in direct sun. The Wahoo screen is designed for outdoor visibility.
- Ride data — Speed, distance, elevation, heart rate (with a sensor), power (with a meter). Useful if you care about pacing yourself over 633 km.
- No distractions — No text messages, no social media notifications. Just the road.
Practical tips:
- Charge your Wahoo every night. Even with 15+ hours of battery, start each day full.
- Load your daily segment the night before, so you just hit "start" in the morning.
- The Wahoo's rerouting is basic compared to Komoot on your phone. If you go significantly off-route, use your phone to find your way back, then resume the Wahoo route.
- Mount it securely. Korean bike paths are smooth, but bridge joints and occasional rough patches can vibrate a loose mount. The out-front mount that comes with it works fine — just make sure it's tight.
Don't have a Wahoo?
Any GPS cycling computer with GPX import works — Garmin, Hammerhead, Bryton, etc. The setup process is similar: import route via companion app, sync to device, follow the line. We're using Wahoo as the example because it's what we know and recommend, but the concept is the same across brands.
The Offline Survival Kit (오프라인 대비)
Cell service on the cross-country route is good — but not perfect. Two sections have spotty coverage:
- Saejae Pass (새재) — Mountain terrain. Signal drops in valleys.
- Mid-Nakdong River (낙동강 중류) — The rural stretch between Gumi and Changnyeong. Long sections with weak or no signal.
Before you leave, make sure you have:
- ✅ Komoot offline maps downloaded
- ✅ Papago offline Korean language pack downloaded
- ✅ GPX file loaded on your Wahoo (or other GPS computer)
- ✅ Screenshots of your daily route overview (backup if everything fails)
- ✅ Naver Map cached for the regions you'll ride through
If both your phone and GPS computer die — follow the red lines on the ground and the blue signs. That's been the backup plan since before smartphones existed, and it still works.
Tracking and Sharing Your Ride (라이딩 기록과 공유)
Strava
Most riders record their ride on Strava. It runs in the background while Komoot handles navigation. You end up with a complete GPS log of your trip — distance, elevation, time, speed — plus a nice map to share when you're done.
Tips:
- Start Strava recording when you leave each morning. Stop it when you arrive at your overnight stop.
- Don't use Strava for navigation — it's a recording tool, not a routing tool.
- Your daily segments will automatically upload to Strava when you have Wi-Fi at your motel.
- If you're using a Wahoo, it records the ride data and auto-syncs to Strava — no need to run Strava on your phone separately.
The Bike Passport App (자전거행복나눔 앱)
Covered in detail in Part 3. The app lets you collect digital stamps at certification centers using QR codes. It's not a navigation tool, but you'll open it at every stamp station.
Power Management (전원 관리)
Your phone is your map, translator, camera, and communication device. If it dies, you lose all four. Take power management seriously.
Essentials:
- Power bank — Bring at least 10,000 mAh. 20,000 mAh if you're a heavy phone user or doing a lot of photography. One full charge of a 10,000 mAh bank gives most phones about 1.5–2 full recharges.
- Charging cable — Bring two. One for the power bank, one for the Wahoo (micro-USB or USB-C depending on model). Cables break and get lost.
- Charge everything every night. Phone, power bank, Wahoo, earbuds, bike lights. Make it a nightly routine at the motel — plug everything in before you shower.
Saving battery during the ride:
- Use Komoot with audio turn-by-turn and screen off. Check the screen at intersections only.
- Turn off Bluetooth and Wi-Fi scanning if you're not using them.
- Airplane mode + GPS still works for navigation if you have offline maps.
- Lower screen brightness.
- If you're using a Wahoo for navigation, you can keep your phone in your bag with the screen off most of the day. This alone can double your phone's battery life.
The Setup Checklist (출발 전 체크리스트)
Do all of this before your trip — not the night before, and definitely not at the starting point in Incheon.
Apps to install:
- [ ] Komoot (+ offline maps + route saved)
- [ ] Naver Map (+ English mode enabled)
- [ ] Papago (+ offline Korean pack)
- [ ] Strava (optional, for recording)
- [ ] 자전거행복나눔 / Bike Passport app (for stamps)
Routes to prepare:
- [ ] Full cross-country GPX file imported into Komoot
- [ ] Daily segments broken out (5 segments for a 5-day trip)
- [ ] Routes synced to Wahoo (if using one)
Hardware:
- [ ] Phone mount for handlebars (secure — not a friction mount that vibrates loose)
- [ ] Power bank (10,000+ mAh), fully charged
- [ ] Two charging cables
- [ ] Wahoo or GPS computer (if using one), fully charged, routes loaded
Backup:
- [ ] Screenshots of daily route overviews saved to phone gallery
- [ ] Motel phone numbers for each overnight stop saved in contacts
- [ ] Emergency numbers: 112 (police), 119 (fire/ambulance), 1330 (Korea Travel Hotline — English support)
Next in This Series
- What Is the Cross-Country Route?
- Planning Your Ride: Days, Budget & Gear
- The Bike Passport: Korea's Stamp Rally System
- Stage-by-Stage Breakdown
- Where to Sleep & Eat Along the Way
- Navigation & Apps ← You are here
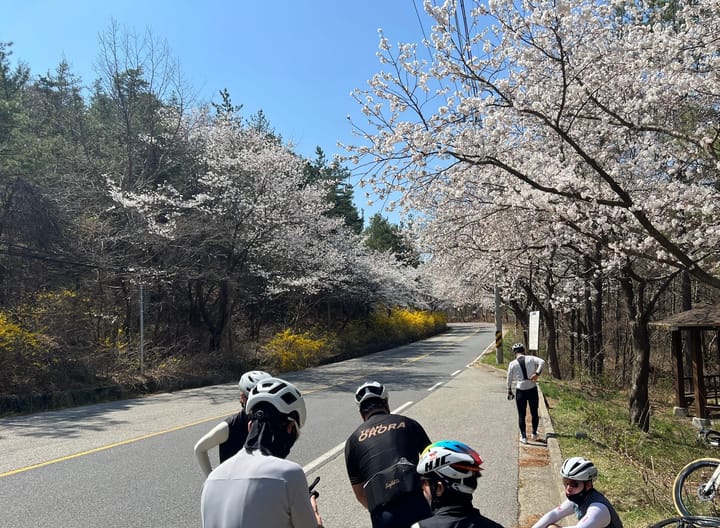
- What I Wish I Knew Before My First Cross-Country
Need help setting up your Wahoo or Komoot before the ride? Bring your bike and your phone — we'll get everything configured and do a quick test ride to make sure it's working.
Platoon Cycles
📍 157, Pyeongseongdaegyo-gil, Paengseong-eup, Pyeongtaek-si
📞 070-8845-7351
🌐 www.platooncycles.com

![What I Wish I Knew Before My First Cross- [Country Cross-Country Series #7 Final]](/content/images/size/w720/2026/03/20231001_180018-1.jpg)
Comments ()